The seventh and final episode of the beginner’s tutorial series, introducing the world tool, and wrapping things up!
(Source: https://www.youtube.com/)

The seventh and final episode of the beginner’s tutorial series, introducing the world tool, and wrapping things up!
Episode six of the tutorial series, introducing some more tools, for changing materials and painting your creations.
Five episodes into the tutorial series, and we finally get to try out some gears!
Part four of the tutorial series, this time focusing on parts with controllable behaviours, such as motors and lights.
Episode three of the tutorial series, talking about how to use the different attachment types to make things move!
Here’s the first episode of a new GearBlocks tutorial series for beginners. I’ll be releasing a new episode every day this week!
A new demo update is now live, with the new builder tool model, part attachment options, and more!
Release notes:-
Hey everyone, here’s a brief update on some of the things I’ve done over the past couple of weeks.
Attachment type filtering
Sometimes when attaching a part, other unwanted attachments might be created between that part and other adjacent parts, which the player then has to go and delete afterwards. It would be more convenient if these attachments weren’t created in the first place.
Here’s an example where we’re aligning a beam to an axle, but additional unwanted attachments are being created between the beams:
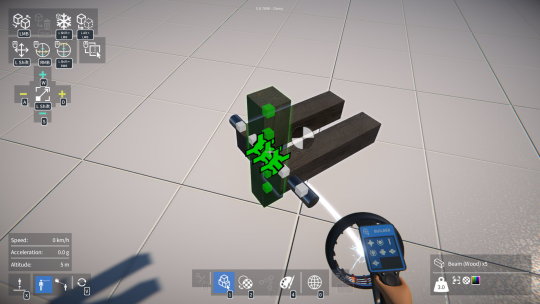
As an attempt at a solution to this, I’ve implemented a way to filter out attachment types during part alignment. There’s now an “advanced options” panel in the builder tool UI, which allows each attachment type to enabled or disabled for part attachment.
Here the fixed attachment type has been disabled in the advanced options panel:
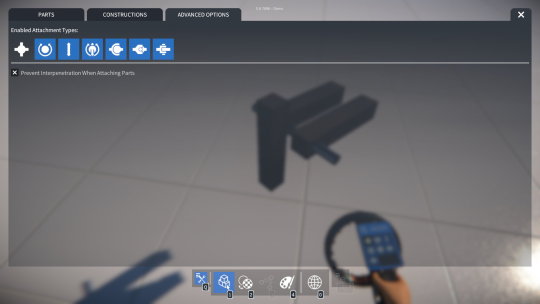
Any disabled attachment types won’t be considered when determining if parts can align together, and any newly created attachments won’t be initialised to a disabled type (and will fall back to the next available allowed type).
So in the example with the beam and axle, disabling the fixed attachment type will prevent attachments from being created to the adjacent beams, but will still allow a rotary bearing attachment to be created between the beam and axle.
Here a rotary bearing attachment is about to be created between the beam and axle, but no other attachments between the beams:
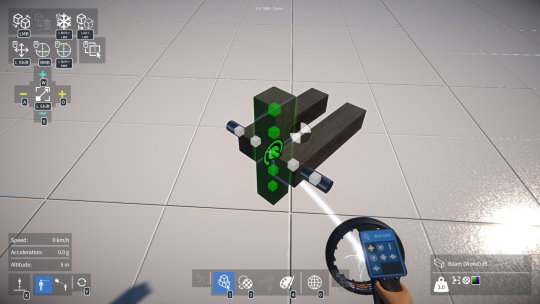
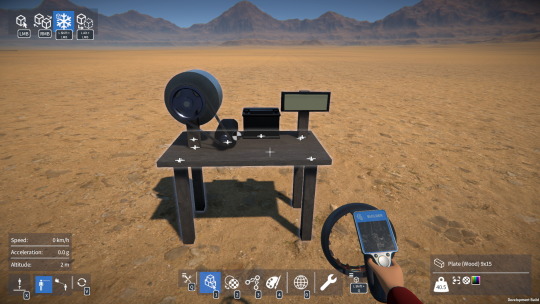
I’ve also modified the builder tool display screen to show which attachment types are currently allowed, as you can see in the images above.
Part interpenetration
There was a bug where, by quickly dragging a selected part while clicking to attach it, it was sometimes possible to attach it such that it interpenetrated another part.
To solve this I now use the attachment’s position and orientation to calculate each part’s new local position and orientation when merging composites together.
However, I think there is value in allowing part interpenetration, as it opens up creative possibilities for advanced users! So, I’ve added an option to the builder tool UI advanced options panel to turn off the part interpenetration test.
I’ll be releasing a demo update very soon with these changes, plus the new builder tool model, and more, so watch out for that!
As I mentioned in the previous post, I’d started to mock up some ideas for the player character’s tool model. To keep things simple I decided to just have a single “universal” tool, and over the past couple of weeks I’ve been developing this idea further.
The model
I wanted something relatively compact that wouldn’t get in the way, but still could provide useful feedback to the player. I settled on an appearance that references VR controllers and the like, and also takes inspiration from some great ideas from the GearBlocks community!
First step was to model it in Blender. My modelling skills are rudimentary at best, so I like to keep things pretty simple, but I think it turned out OK.
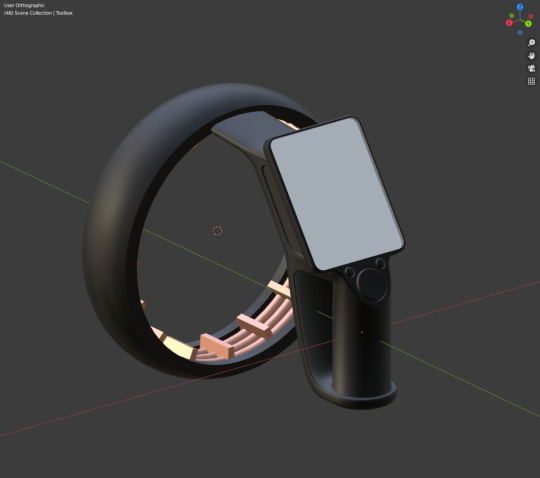
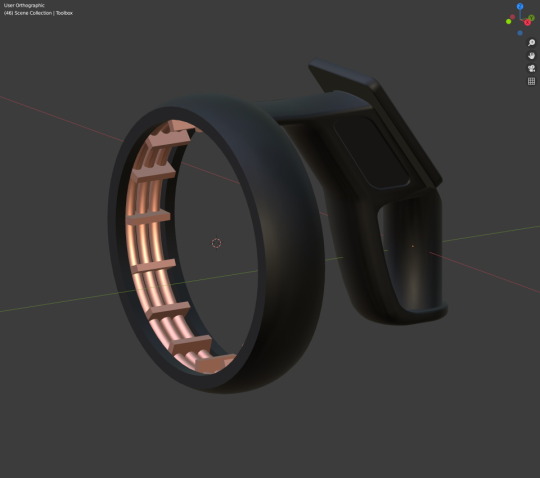
By the way, the handle has the same radius as an axle in the game, and is designed to fit into the player character’s hand!
Status display
Then after dropping the model into the game, I got to work implementing a status display for it. This uses the Unity UI system with a world space canvas positioned just behind the tool’s transparent screen. I customised the UI shader slightly so that the UI elements are emissive with an HDR colour, making the display glow brighter than its surroundings (looks pretty cool at night!)
Builder tool display, mostly empty right now, but in the future will show the status of some options that I’m planning on adding:
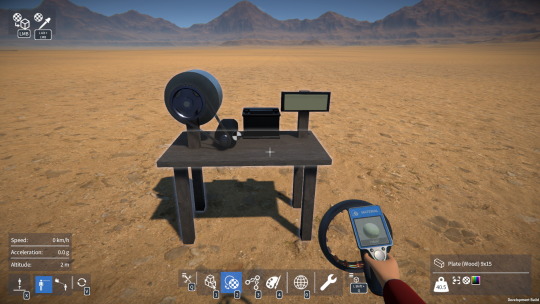
Material tool display, shows the currently selected material:
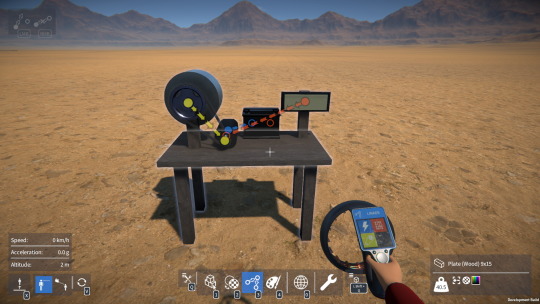
Linker tool display, shows which link types are currently selected to be edited:
Painter tool display, shows the currently selected paint colour:
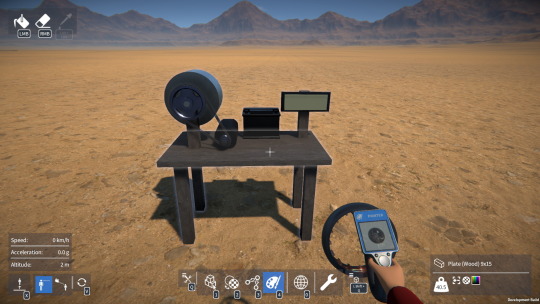
Particle effects
Lastly, I worked on improving the builder tool “energy beam” effect a bit, and added another effect (a glowy sparks thing) to represent the source of the beam.
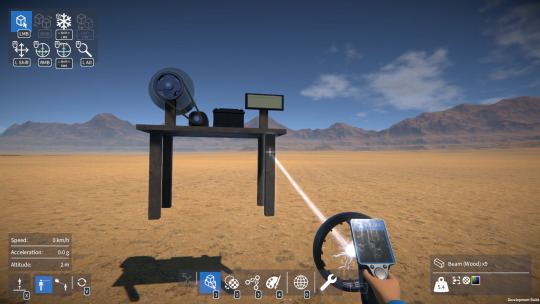
I also trigger the glowy sparks effect when the material or painter tool are changing things (I’ve removed the old paint spray effect). I’ll probably have to revisit these effects (improve their appearance, maybe add sounds etc.) but for now they’re a decent step in the right direction.
This video shows everything in action:
OK, that’s it for this update. Thanks for following along this year, for your invaluable feedback, and as always, thanks for your patience with my slow pace of development! 🙂
Happy holidays to you and all the best for the new year (here’s hoping it will be an improvement on 2020!)