
Gah, bloody typical. It’s Friday evening and I’ve just discovered a game breaking bug. In both the standalone and web-player builds, it seems Unity sometimes decides not to call my “on collision stay” callback, which breaks the whole construction mechanic – it means you can’t attach parts together! I’m not sure how long it’s been like this, I usually test the game in the editor, which naturally enough doesn’t have this issue. Lesson learned: I really should properly test the standalone builds more often! Hrm, it could be a while before I figure this one out… 🙁
Tag: game development
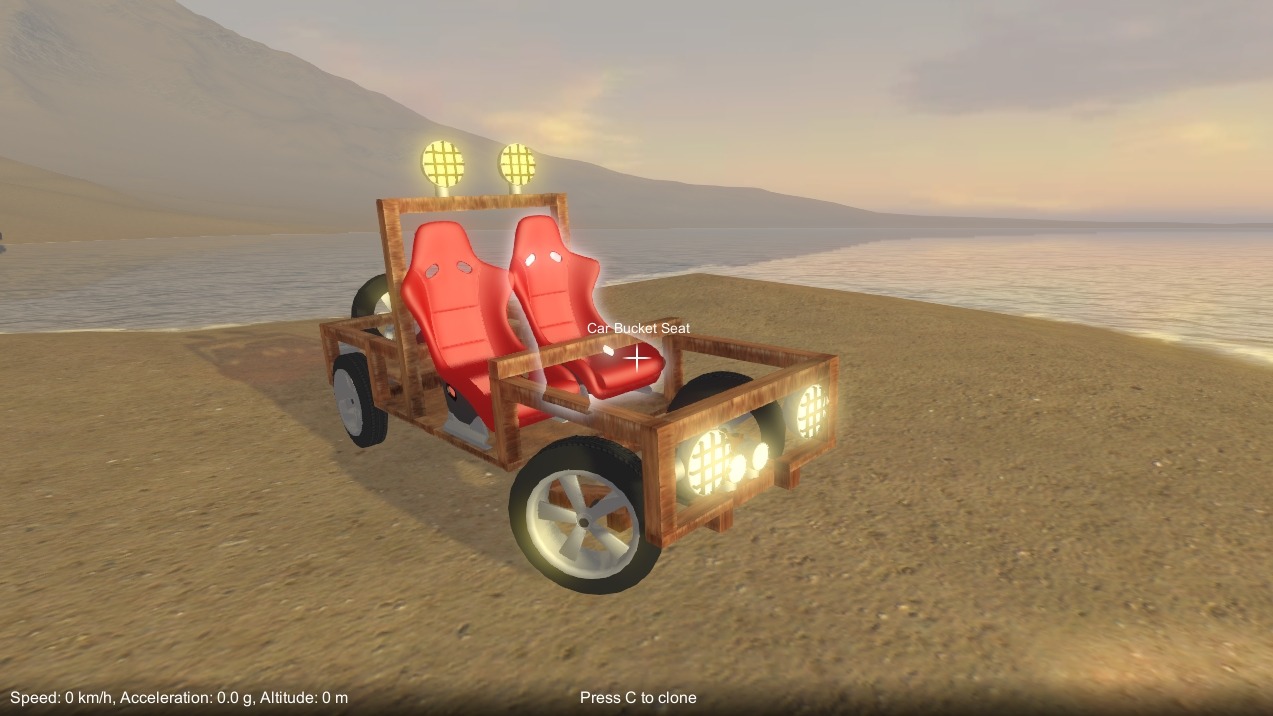
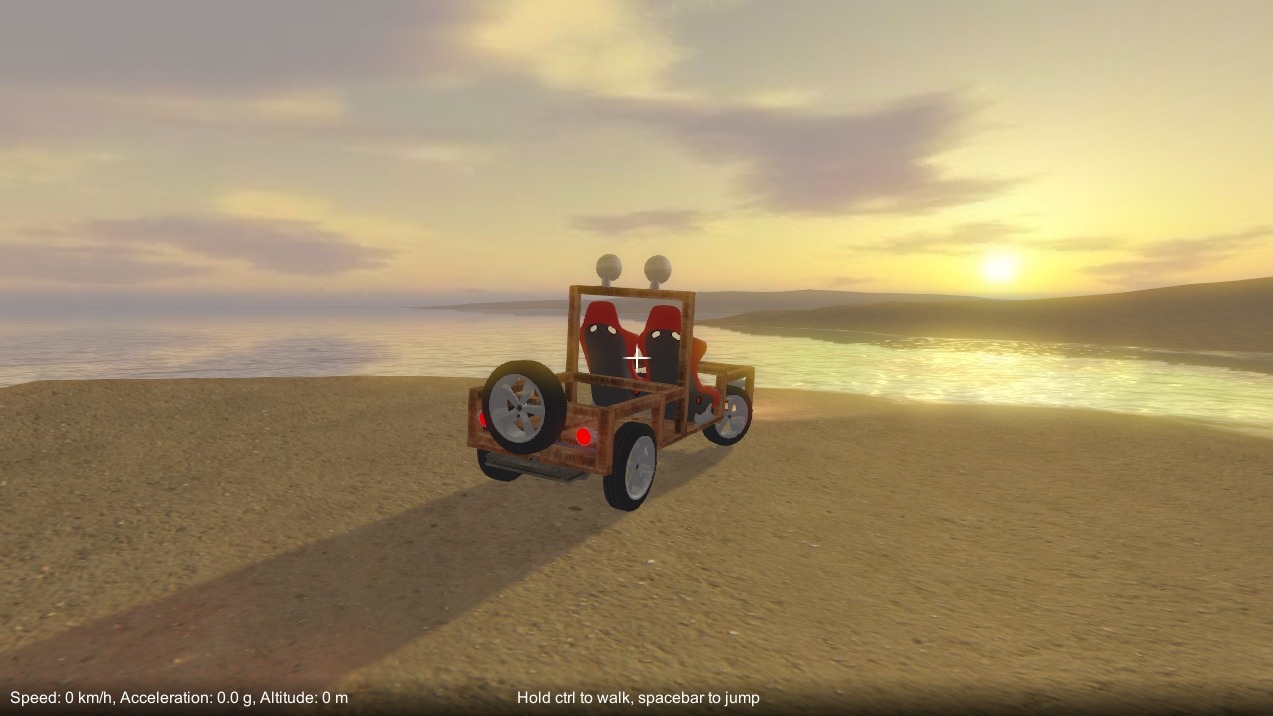
Just took a break from working on the game, and had some fun playing it instead! Here’s a pickup I built, it features dual motors in the back, working steering and lots of lights. 🙂 Top speed is around 160 km/h. Being narrow and fairly top heavy, it takes some finesse on the steering not to flip it over!
Playable build – updated
This update has a bunch of bug fixes and minor tweaks, but the main change is that part behaviour settings are now stored when you save a game. For example, a motor’s directional controls and “is reversed” settings will be saved, so they won’t get lost whenever you save and then reload a game. Unfortunately, as this required a change to the save game format, old save games won’t work.
Playable build – new wheel physics
Playable build – new wheel physics
Another long gap between updates I’m afraid! I thought I’d gotten through the last of the really tricky physics issues once I’d sorted the gears, but oh no… Over the past month I’ve been battling through a bunch of problems with wheel physics, but I finally have a solution that I think is satisfactory (albeit at some performance cost unfortunately, as I’ll explain later).
There are two things to deal with when two physical objects contact each other (in this particular case, a wheel, and the ground), these being collision and friction. In Unity, you’d normally just attach colliders to your objects, and leave it to PhysX to take care of it all, but this is not particularly well suited for wheels. First of all, there are no colliders available that properly match the shape of a wheel (i.e. a cylinder), and that also roll smoothly across the terrain, really the only options are a sphere or capsule collider. Secondly, you don’t have enough control over friction, which is particularly important for wheels / tires. Unity’s built in wheel collider is a specialised solution that includes a spring / damper model, and must be attached to a vehicle chassis, not directly to the wheel itself, so it is not suitable for my purposes.
I tried several approaches to deal with the wheel to ground collision and friction response, which I’ll briefly go through now.
Built in collider
Until now the wheels had been set up to use a capsule collider, but this doesn’t conform to the wheel shape, the capsule ends stick out of the wheel itself which means the wheel can’t tilt over properly while contacting the ground. I even tried using a mesh collider to approximate the cylindrical shape of the wheel, but because it is faceted it doesn’t roll smoothly across the ground.
Raycast to find ground contact
Given that using a built in collider wasn’t going to work, the first thing I had to do was find the wheel’s contact point with the ground for myself. To do this, the wheel fires raycasts towards the ground (perpendicular to its rotational axis) to find a contact point and normal.
Custom constraint solver
I implemented a constraint solver that resolves the collision by calculating an impulse along the contact normal to push the wheel away from the ground so that it doesn’t penetrate. It also finds an impulse (tangential to the ground contact) to resolve friction, using a simple Coulomb friction model. Essentially, exactly what PhysX does internally to resolve contacts, except now I’m able to use my own contact points. This took a while to code up as I had to brush up on my physics knowledge a fair bit, it’s very easy to screw things up and introduce energy into the system if you’re not careful! Once I got it sorted though, it worked great, the wheel rolled smoothly across the ground, was able to tilt over properly, etc.
However, there was a problem, with heavy constructions the wheel would sink into the ground and spring back out. This is actually a similar issue to the laggy springiness my gear constraint solver suffers from. I think it’s because my solver update runs independently of the PhysX internal solver updates, and so doesn’t get a chance to properly “compete” with the built in constraints (joints etc.)
Configurable joint
So, rather than use my own constraint solver, I tried to recreate it using a configurable joint (as available within Unity), connected to the wheel’s rigidbody. Every update the joint gets repositioned above the ground contact point, and has a linear limit set up to prevent the wheel going below the ground, thus providing the collision response.
For friction, the configurable joint’s velocity drive is set up to force the ground relative velocity (tangential to the ground contact) to zero. This alone would result in essentially infinite static friction, so a maximum impulse is set on the drive. As per Coulomb, this impulse clamping needs to be based on the contact normal impulse. However, there’s no way to find out what impulse PhysX is applying to constrain the wheel to the linear limit, so what to do? In the end I had to estimate it by using the approximate mass over the wheel and the force against gravity along the contact normal. Kludgy, but it’ll have to do.
This solution worked nearly as well as the custom constraint solver, and without wheels sinking into the terrain, so was the one I settled on. The only downside of this method is that when you have a lot of wheels, the configurable joints seem to incur quite a noticeable performance cost.
Hopping wheels and sagging joints
The wheel collision and friction were not the only issues to deal with. A problem I found a while ago after adding the servo part and using it in the game to build cars with steering, was that during cornering, the lateral forces would cause the wheel (or rather the hinge joints connecting it) to flop over. It would then lose contact with the ground, snap back, gain contact again, and so on, causing the wheel to skitter and hop across the terrain. Also, if the construction was heavy, the joints attaching the wheels would sag under the weight.
I tried to think of ways of forcing the wheel to remain vertical to the rest of the construction, but because the player is free to build in whatever way they want, I have no way to know which direction a wheel should be constrained in. To be honest, the physics engine isn’t really designed for what I’m trying to do, normally you wouldn’t model vehicle physics with joints and rigidbodies for all the moving parts, instead you’d build a specialised vehicle physics engine. For my game I can’t do this though, as players construct the vehicles themselves in game. In the end the only fix I was able to come up with was to increase the physics solver iteration count, which has the effect of tightening up the hinge joints and lessening their sloppiness. This comes at the cost of a significant performance hit though unfortunately.
The build is now updated with the new wheel physics so you can try it out! I’ve also added a wheel skid sound effect, and fixed a bunch of bugs, including a pretty major screw up with the rigidbody mass properties update that I’ve now sorted.

New part added: Servo motor
Frustratingly my video card died last week which slowed progress quite a lot (I’m resorting to my notebook PC at the moment). However, I have added a new part, a servo motor. Unlike the regular motor, it doesn’t spin continuously but, based on directional input, it’ll rotate between +/- some maximum angle (that you can specify). This is intended for controlling vehicle steering (as shown in the image above), or any other situation where you need precise control.
Playable build – updated
A bunch of miscellaneous small changes and bug fixes in this update, the main ones being:-
- After detaching a part from a construction, it now becomes selected rather than just dropping onto the floor.
- Added a “no control” mode to the motor part behaviour, in this mode the motor runs continuously when switched on rather than being controlled by player directional inputs.
- I (re)disabled free spinning attachments between gears and axles as it doesn’t play well with physics when the axle spins quickly (too unstable – gears wobble all over the place).
- Fixed a bug where part attachment intermittently doesn’t work during low frame rates.
Playable build – updated
Physics rigidbody mass properties
Unity’s physics automatically calculates the centre of mass and inertia tensor for a rigidbody based on the colliders attached to it. The PhysX API allows you to specify a mass or density per collider, but unfortunately Unity doesn’t expose this, it just assumes a uniform density.
Given that the parts you build from can have very different densities based on their material (e.g. wood vs. metal), I wanted the centre of mass and inertia tensor of a construction to properly reflect its constituent parts. So, after writing a whole load of code that essentially duplicates some PhysX functionality, per-part densities are now taken into account when calculating the total mass properties.
This is more physically correct, but what’s the practical benefit to the player? Well, when building you can now decide to use heavier parts to affect the stability of your constructions (e.g. use metal parts for the chassis of a car, and lighter materials for the body, to give it a lower centre of gravity). This will have more benefit once there are more part assets made from a greater variety of materials.
TL;DR The materials that parts are made from now affects physics game-play, not just the visuals.
Playable build – updated
Attachment indicators
I’ve added new indicators that show the attachment points between parts, these indicators appear when a construction is frozen. There are two types of indicator, one for rigid attachments, and one for rotating attachments. I had to add extra data to the constructions for this, which unfortunately meant a change to the save game format, so old save games likely won’t load properly.
Rigid vs. rotating attachments
For a while now it’s been possible to attach blocks to axles either rigidly or free to rotate (pressing E to cycle between these two modes when a construction is selected). However, gears and wheels could only be attached rigidly to axles.
Well, now gears and wheels can also be attached free to rotate, just like blocks. This opens up more possibilities when building, but it does mean you have to be careful to select the correct attachment mode for what you’re trying to do.
Playable build – new gear and motor physics
Playable build – new gear and motor physics
Apologies for the lack of updates of late, I’ve been struggling with physics stuff for a while, and I also had a pretty bad flu a few weeks ago which slowed me down a lot! However, I’ve now finally made some good progress on the physics front, much improving the way gears and motors work.
Gears
For the gears to work, we want neighbouring gears rotate in sync with each other, taking the ratio of their respective diameters into account. My old implementation for this synced neighbour gear’s angular velocities, but didn’t sync angular displacement (so gears would slip under high torque loads), and didn’t take rigid body inertia tensors into account (particularly noticeably wrong with gears that were part of rigid bodies with large moments of inertia).
The proper way to do this is to have a physics constraint that forces the angular velocity and angular displacement to stay in sync. Unity comes with a configurable constraint (or joint), which is almost flexible enough for what I need, except that you can’t specify any kind of gear ratio. PhysX 3.X supports custom constraints, but Unity is still using an old version of PhysX (2.8.3 I think). So I had to implement my own constraint, which gets applied in FixedUpdate to modify rigid body angular velocities. This works OK for the angular velocity part of the constraint, but because I don’t have access to the internal physics update code, I found it problematic for syncing angular displacement. This is because Unity doesn’t provide the current total angular displacement of a rigid body. I attempted to track it myself, but because I don’t have direct access to the changes made by the physics update, it was not accurate. So instead, over every update, I accumulate an angular displacement delta between the two rigid bodies using their respective angular velocities, and then use that to apply a correction back to their angular velocities. This isn’t as good as syncing the angular displacements directly, as it means the gears still slip under high torque loads, but they do eventually correct themselves with a kind of delayed “springyness”. At least now they won’t slip indefinitely, so it’s certainly better than my old implementation!
Motors
As Unity physics doesn’t “know” about my gear constraint that is modifying angular velocities outside of the main physics update, the built in joint motor no longer worked properly. So I had to implement my own motor constraint (which was pretty simple because it only constrains angular velocity, not displacement). An added bonus to doing this was that it gives me much more control, and I was able to add a torque curve that makes the motor behave more realistically, and can be customised for all different kinds of motor.
Also, now that the new gear constraint properly accounts for rigid body inertia, I was able to increase the motor torque to a much more reasonable level, and have it behave consistently regardless of whether gears are part of large or small rigid bodies.
Well, that’s it for now, these changes are now in the playable build. Hopefully they’ll allow you to build more complex and interesting machines!
Construction controls walkthrough
The construction game mechanic is getting close to being finished now, barring a few minor tweaks here and there, so I’ve made a video to demo how the controls work to position, align and attach parts together.
(Source: https://www.youtube.com/)