Scenario mode and Lua scripting continued

Hi all, time for a long overdue progress update on the scenario mode, Lua scripting, and tutorials.  This will continue on from the last blog post so check that out if you haven’t already.  Okay, let’s get stuck in!

Code interfaces

Exposing the game’s events and global variables to Lua scripting was a good start, but only allows the scripts to do pretty basic stuff.  To properly open things up, scripts need access to entities in the game (such as players, tools, constructions, parts, and so on), so I’ve added interfaces for a whole bunch of classes in the game code and registered them to be accessible from Lua scripts.

I won’t go through everything in detail here, but here’s a brief overview of some of these interfaces:

IConstruction

  • State properties (is frozen, total mass, velocity, etc.)
  • List of parts making up the construction.
  • Methods to get a member part from an index, for moving the construction, and so on.

IPart

  • Part’s attachments (allowing access to each attachment’s position, connected part, etc.)
  • Material properties (mass, strength, is paintable, etc.)
  • List of part behaviours.

IPlayer

  • State properties (camera mode, is in free flight, velocity, etc.)
  • Targeter (to get currently targeted part).
  • Part inventory (mode, available part catalogue, etc.)
  • Toolbox (to get the active tool and the part selection).

IPartSelection

  • State properties (pivot part, is currently aligning, etc.)
  • Currently selected parts.
  • Methods to modify the part selection.

This is by no means a comprehensive list, but hopefully gives a flavour of what’s available.  I’ve made functions accessible from Lua scripts that can get hold of the game’s construction and player instances, and then interrogate / manipulate them via these interfaces.

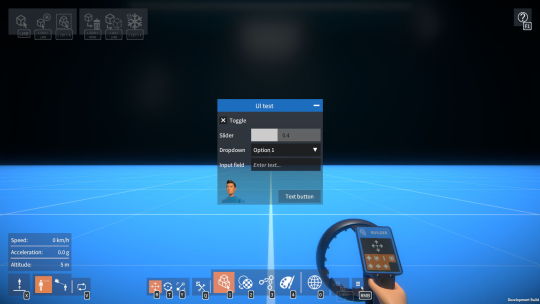
More UI features and proxies

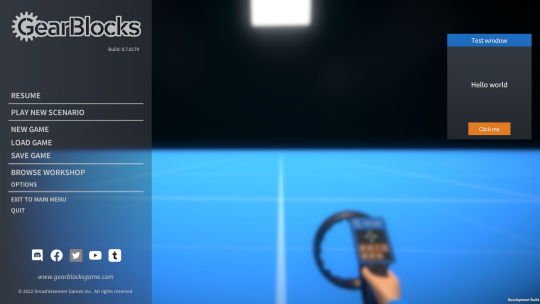
Following on from the UI windowing system I covered in the previous blog post, I’ve made more UI elements available that can be added to a window from Lua scripting: toggle, slider, drop-down menu, input field, and picture (displays an image texture).

image

To support the interfaces, UI features, and Lua scripting in general, I had to add some more proxies for Unity types and static methods.  These are: Quaternion, Time, Input (for raw input as opposed to key bound input actions), Texture (includes a function to load textures from file), and Rect.

Script mods

A Lua script can serve many purposes, but I think they essentially fall into two main use cases, a scenario script or a “script mod”.  A scenario script is loaded and run automatically when the player starts playing a scenario and is there to configure the game for that particular scenario.  Whereas a script mod can be loaded at any point and can implement a tool, a custom UI, and so on.

Lua scripts can be loaded from any path location using the debug console, but I’ve added a UI screen for an easier way to load script mods from a “standard” location (this being a ScriptMods folder alongside the SavedConstructions and SavedGames folders).  This UI screen also allows for publishing script mods to the workshop and loading those downloaded from the workshop.

image

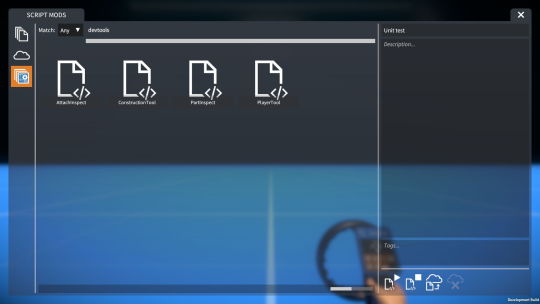
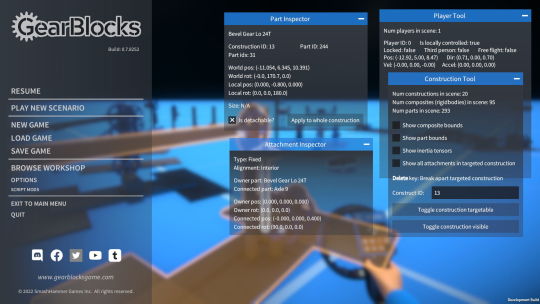
I’ve written some simple tools as script mods that make use of some of the interfaces mentioned earlier.

  • Player tool: displays player’s ID and current state (position, velocity, etc.)
  • Construction tool: displays current number of constructions, allows debug functionality to be enabled (e.g. “show part bounds”), and for a construction to be made non-targetable or even invisible.
  • Part inspector: shows targeted part’s ID and current state (position, rotation, etc.)
  • Attachment inspector: shows targeted attachment’s position, connected part, etc.

Here’s an image showing all of these tool scripts running at once:

image

Some of these tools are useful for making scenarios, and they also serve as examples of how to write script mods, so I’ll include them with the game.

For example, the part inspector can be used to find out the IDs of parts and constructions in a scene, and then those IDs can be used in a scenario script to reference those particular part or construction instances.  Another example use would be preventing certain parts from being detachable or constructions from being targeted.
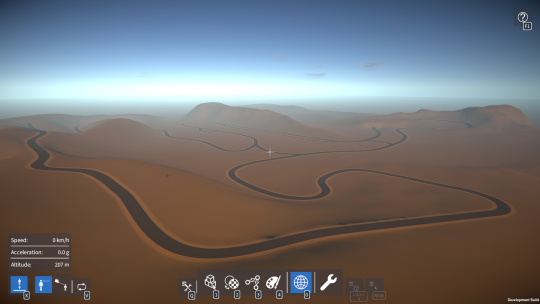
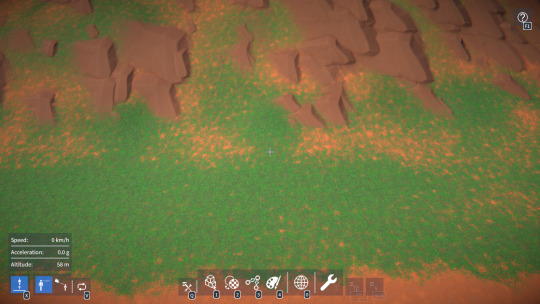
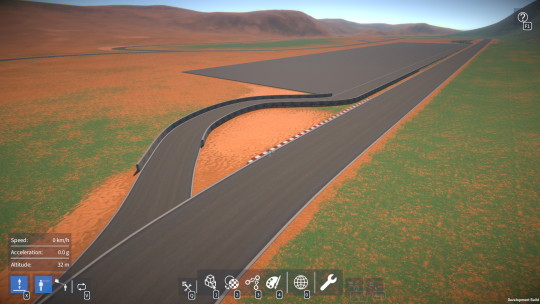
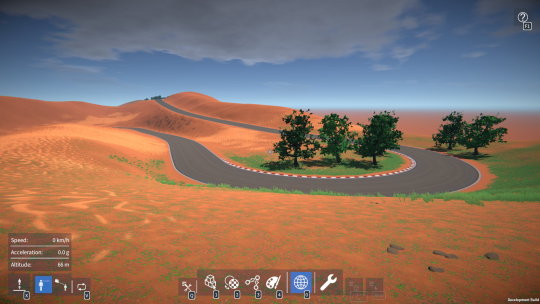
Checkpoints

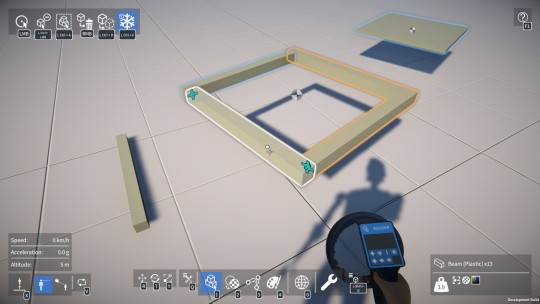
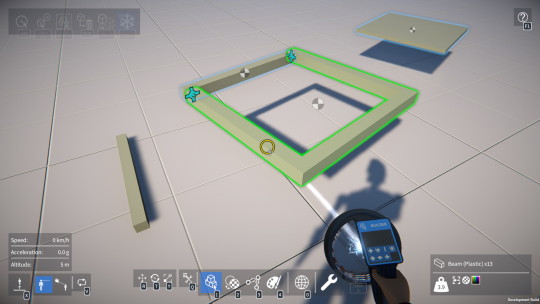
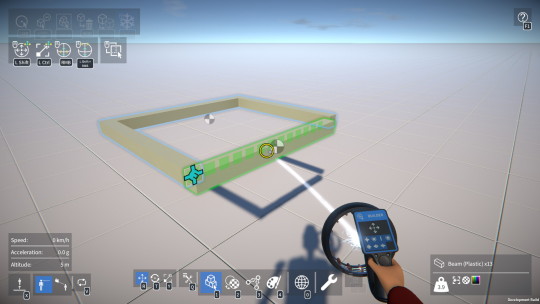
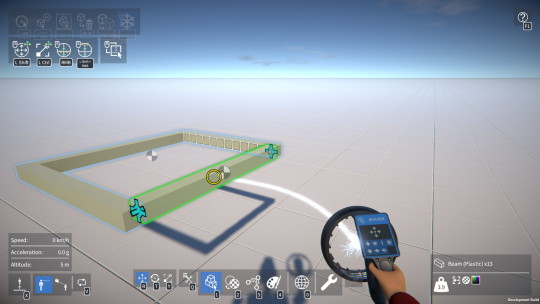
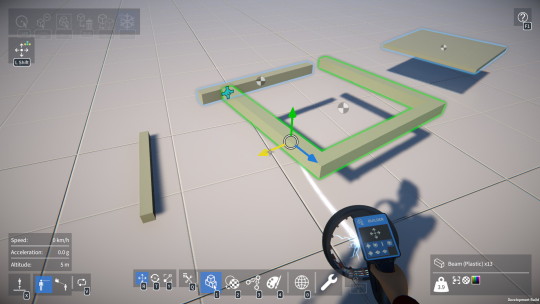
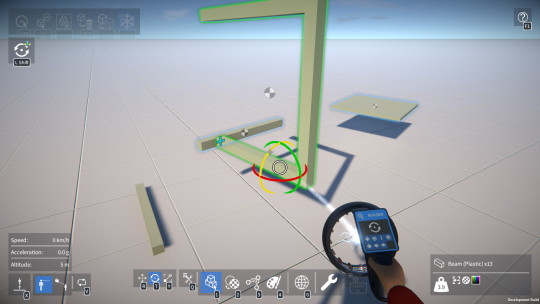
For the tutorials and other scenarios I wanted to have “checkpoints”, i.e. a way for a Lua script to detect when a player or construction enters a particular area in the scene.  So I’ve added a new checkpoint part that can be placed in the scene and defines a trigger volume (actually a couple of variations, a box or cylinder).  These parts don’t do much on their own but they provide enter / exit events for Lua scripts to handle and implement useful behaviour.

The checkpoint parts need to be static (i.e. non movable under physics), so I had to implement a way to make a part be “pinned” (i.e. its parent rigidbody remains kinematic, even when the construction is unfrozen).  This will also be needed for making a building foundation part which I want to add in the future to allow for buildings and other static constructions.

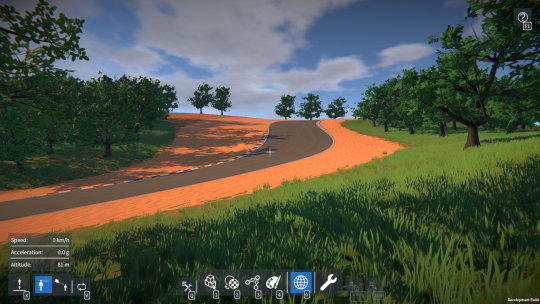
Here’s what the checkpoints look like, note they also have a customisable text label:

image

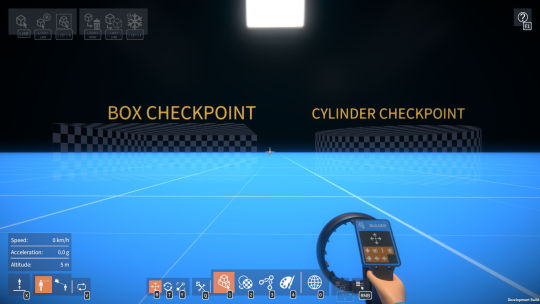
I’m excited about what’s now possible using checkpoints and scenario scripts, for example: timed laps with split times, obstacle courses, mini-games (e.g. vehicle based soccer, robot golf), you name it!
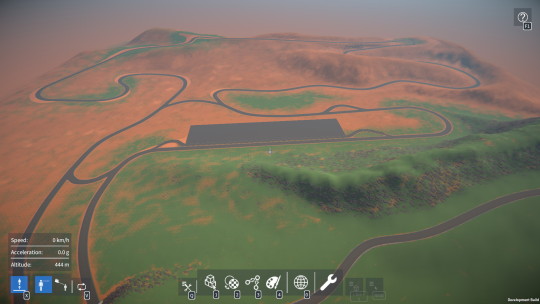
Tutorials

One of the main motivations behind scenario mode and Lua scripting are the in-game tutorials, and I’m making decent progress with these although it is slow going.  It’s quite tough trying to break down the game’s complexities into simple incremental steps that gradually build upon the player’s knowledge.

Here’s what I have made so far:

Tutorial 1

  1. Briefly covers player movement (should be pretty familiar to anyone not living under a rock! :))
  2. Spawns a go-kart in front of the player.
  3. Introduces the construction menu and has the player use it to unfreeze the go-kart and turn it on.
  4. Gets the player used to controlling a construction by driving the go-kart, ending the tutorial once they reach a target speed.

Tutorial 2

  1. Starts with an upside down go-kart.
  2. Introduces the builder tool and has the player use it to freeze the go-kart and select a pivot point.
  3. Introduces the translation and rotation manipulators and gets the player to use them to pick up and rotate the go-kart to be right side up.
  4. Once the player unfreezes the go-kart, has them drive it over to a checkpoint.

Tutorial 3

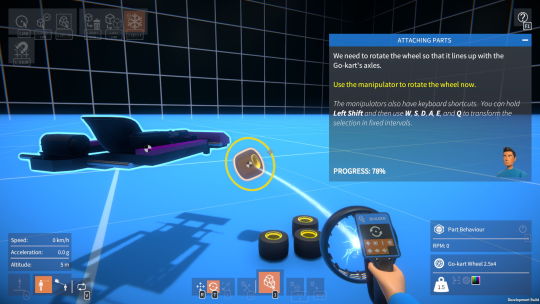
  1. Starts with a go-kart with no wheels, and some loose wheels next to it.
  2. Has the player use the builder tool to position and freeze the go-kart, ready for building.
  3. Gets the player to pick up a wheel, use the rotation manipulator to rotate it, and align it to one of the go-kart’s axles.
  4. Once they attach the first wheel, has the player attach the rest.
  5. Introduces the concept of attachments, and has the player target the wheel attachments and cycle them to rotary bearings.
  6. Once the player unfreezes the go-kart, has them drive it through a sequence of checkpoints.
image

Tutorial 4 is still in progress but will likely introduce the idea of detaching and moving parts, and the builder tool UI for spawning new parts.

I’m trying to make each tutorial build upon the previous one, and be a little more challenging for the player each time.  As you can see I still have a way to go with this, I’m hoping things will go a bit faster now that I’ve implemented most of the game code support.

I reckon I’ll probably end up with around ten basic tutorials, and that’s just covering the essentials of building.  I might make a second more advanced series of tutorials to cover mechanical concepts, but we’ll see how things go.

Summing up

Recently I’ve also done a major Unity upgrade to 2020 (I tried 2021 but it broke some UI stuff), and plowed through a whole load of bug fixes.

Next up will be to continue working on the tutorial scenarios, and try to get those done as soon as possible.  I’ll also try adding some other simple scenarios, and I’m sure there’ll be one or two other supporting features I’ll need to implement in the game itself.  That’s it for this update, thanks for reading!

Scenario mode and Lua scripting

Hey everyone, over the past month I’ve been back to working on the scenario mode.  One of the last things I want to get done before the initial early access release is to add some in-game tutorials, and I think it makes most sense to do this using the scenario system.

I figured the best way for the scenario mode to be flexible enough to support tutorials, as well as other kinds of challenges, would be to do it via dynamic scripting.  So for each scenario there’d be a script that gets loaded at run-time, hooks into the game, and implements the tutorial / challenge logic.  This would allow for user created challenges and mini-games that players can share on the workshop.

Choosing a scripting language

The first step was to choose what scripting language to use.  This had me thinking about modding more broadly, it made sense to keep this in mind when deciding on a scripting approach.

A lot of Unity games with scripting support for mods do it by loading assemblies at run-time, which works because the Mono back-end uses JIT compilation.  This is quite an open ended option for modders, they can write scripts in C# and use whatever assemblies are available from the game.

However, I’m using the IL2CPP back-end to eke out as much performance as possible, which by its nature is an AOT compiler and cannot load arbitrary assemblies at run-time.  So, I needed to use some kind of run-time interpreter.

I narrowed it down to two options and spent some time with both to evaluate them in the game:-

C# using Roslyn C#

  • This is a Unity asset that provides run-time compilation of C# scripts.
  • It doesn’t work with IL2CPP directly (the JIT vs AOT thing again), but there’s the dotnow CIL interpreter which integrates with it and executes CIL on IL2CPP platforms.
  • However, dotnow is in early development, and has some inherent limitations.
  • I came up against some problems with dotnow, nothing that couldn’t be worked around, but it’s definitely a more involved process.
  • The C# language is overkill really for creating scenarios, but might make sense for modding the game more generally.

Lua using the MoonSharp interpreter

  • This is an interpreter written in C#, no JIT, so it works with IL2CPP.
  • It’s been around for a while, development doesn’t seem that active, but I think it’s pretty stable at this point.
  • I found hooking up Lua scripts into the game with MoonSharp to be quick and easy.
  • Lua is more than sufficient for making scenarios, and I think would be simpler to learn for players wanting to create their own.

After this investigation and considering the points mentioned above, I decided to go with the Lua option, at least for the scenario mode and other basic mods.  If I ever decide to support more complex modding (e.g. adding new part behaviours or other direct interactions with the physics engine), then C# would probably make more sense, but this will be something to revisit in the future.

Loading and running Lua scripts

I implemented a Lua script “manager” to handle loading Lua script files from any specified path, unloading of scripts, and to keep track of the lifetime of active scripts.  It’s the only code in the game that directly references the MoonSharp interpreter, which it uses to configure and execute the scripts.

The manager also calls two specific global functions in each active Lua script if they are defined, “Update” and “Cleanup”.  The former is called every game update, and the latter is called on a script just before it is unloaded.

Lastly, the manager provides functions for other game code to register types and object instances with MoonSharp.  This is what enables Lua scripts to interface with game code and do useful things.

Events and variables

The GearBlocks code architecture is built extensively around ScriptableObjects, particularly for events and global variables which are used to communicate between separate subsystems.  I covered this in some detail here if you’re interested: ScriptableObjects For Fun and Profit.

Not only was this approach useful for decoupling game code, but it also made it easy to add a debug console that allows for tweaking variables and raising events from within the game for testing and experimentation purposes.  There’s more info on this here: Debug console.

It was similarly easy to expose these same events and variables to Lua scripts.  Each event and variable ScriptableObject asset now registers its type and instance with the Lua script manager.  This lets Lua scripts read / write variables, and raise / handle events.  It means a Lua script can configure the game for a particular scenario, for example a tutorial could disable certain game features, and then unlock them as the player progresses through the tutorial.

Here’s a basic Lua script registering an event handler and modifying a game variable, note the use of the Cleanup function to remove the event handler:

local function onGameReady()
    -- The game is ready, so initialise stuff here.
    ShowFPS.value = true -- Turn on the FPS display.
end

-- Add a handler to the GameReady event.
GameReady.handler.add( onGameReady )

function Cleanup()
    -- Script is about to be unloaded, so cleanup here.
    ShowFPS.value = false -- Turn off the FPS display.
    GameReady.handler.remove( onGameReady ) -- Remove the event handler.
end

I added two new events (handled by the Lua script manager) for loading and unloading Lua scripts.  These events are called by the game’s UI code when starting a new scenario mode game to load the Lua script for that scenario, and to unload it when finished.  Because these events are available in the debug console, it’s easy to load and unload Lua scripts while the game is running, and it also allows players to run their own custom scripts to mod the game!

Proxies

Some of the events and variables now available to Lua scripts depend on Unity types: Vector3 and Color32.  Rather than expose these directly to Lua, I created proxies for them – wrappers that contain an instance of the relevant type, and expose a subset of their properties and methods.  These proxy types are registered with the script manager to be made available in Lua scripts, both for using with the associated events and variables, and also for using the types directly (e.g. for doing vector math operations).

Input

In order for Lua scripts to access player input, the relevant game interfaces and the input system are now registered with the Lua script manager.  This exposes the enums for input action IDs, and functions for finding if the key bound to an action is triggered or held.

Here’s an example Lua script that checks if a particular input action is triggered, note the use of the Update function to poll the input:

local function onGameReady()
    -- The game is ready, so initialise stuff here.
    ShowFPS.value = true -- Turn on the FPS display.
end

-- Add a handler to the GameReady event.
GameReady.handler.add( onGameReady )

function Update()
    -- For no good reason lets toggle the FPS display
    -- whenever the jump key is pressed!
    if InputActions.isTriggered( actionID_Jump ) then
        ShowFPS.value = not ShowFPS.value
    end
end

function Cleanup()
    -- Script is about to be unloaded, so cleanup here.
    ShowFPS.value = false -- Turn off the FPS display.
    GameReady.handler.remove( onGameReady ) -- Remove the event handler.
end

Custom user interfaces

Finally, I’ve implemented a basic UI system that registers itself with the Lua script manager, and allows Lua scripts to create their own custom user interfaces.  This is required for tutorials to relay instructions to the player and so on, but it’ll also be useful for creating custom tools and mods in the game.

A script can create a UI window (or multiple windows if needed), and then add UI elements to it.  So far I’ve implemented text label and button elements, but I’ll be adding more as I go.

Here’s an example Lua script that creates a window and adds a text label and a button to it, note the alignment options I’ve exposed to Lua scripting for positioning and sizing the window and the elements within it:

local function onTextButtonClick()
    print( 'Text button was clicked' )
end

local function onGameReady()
    -- The game is ready, so initialise stuff here.

    -- Create a UI window.
    Win = Windows.createWindow()
    Win.setAlignment( align_RightEdge, 20, 200 ) -- Width 200, offset 20 from right edge of screen.
    Win.setAlignment( align_TopEdge, 80, 250 )   -- Height 250, offset 80 from top edge of screen.
    Win.title = 'Test window'     Win.isDraggable = true     Win.show( true )     -- Add a text label.     Label = Win.createLabel()     Label.setAlignment( align_HorizEdges, 10, 10 ) -- Offset 10 from left and right edges of window.     Label.setAlignment( align_VertEdges, 50, 10 ) -- Offset 50 from bottom edge and 10 from top edge of window.     Label.alignment = textAnc_MiddleCenter     Label.fontSize = 18     Label.text = 'Hello world'     -- Add a text button.     TextButton = Win.createTextButton()     TextButton.setAlignment( align_HorizCentre, 0, 100 ) -- Width 100, centered horizontally in window.     TextButton.setAlignment( align_BottomEdge, 10, 30 ) -- Height 30, offset 10 from bottom edge of window.     TextButton.onClick.add( onTextButtonClick )     TextButton.text = 'Click me' end -- Add a handler to the GameReady event. GameReady.handler.add( onGameReady ) function Cleanup()     -- Script is about to be unloaded, so cleanup here.     Windows.destroyWindow( Win ) -- Destroy the UI window.     GameReady.handler.remove( onGameReady ) -- Remove the event handler. end 

And here’s the result when you run the script in game:

image

OK that’s it, thanks for reading if you made it this far!  Right now I’m starting to rough out some tutorial scenarios, and I’ll continue to extend the Lua scripting functionality as required for this, hopefully I’ll have another progress update on this soon.

GearBlocks on Steam

GearBlocks on Steam

Building a new map

Hi everyone, it’s been a while, so time for a dev update I think.

Over the past couple of months I’ve been working on making a new map for the full game.  Currently in the demo there’s a procedurally generated “desert” map that’s a bit boring as it doesn’t have much variation.  So I decided to hand craft another map that would be more fun for testing wheeled vehicles, with various road and race track layouts.

At some point I’d like to have other maps tailored towards different kinds of creations, but those will have to wait until some time in the future.

The race track layout

The map sizes in the game are 12x12km, with an 8x8km playable area, which is a huge area to create a map for, especially by hand.  So for now I’ve been focusing on one 2x2km region to try and get that up to a decent quality level.

The first step was to design a race track layout, which I did by piecing together corners inspired by some of my favourite real world tracks.  I wanted to have a good mix of corner types, elevation change, and a nice flow.  The track also has multiple routes, for more variety.

The next stage was to build the race track in Unity, for this I used EasyRoads3D (http://www.easyroads3d.com/).  This is a node based tool for creating road layouts that generates the road meshes, matches the terrain height to the road, and can generate other associated objects such as tunnels, bridges, kerbs, and walls.  This tool isn’t without its problems, it has quite a few bugs that I struggled with initially, especially when using the flex connectors to create road intersections.  However once I got used to working around these issues, I found this tool to be quite powerful and flexible, and it can produce some great results.

Here’s the initial race track layout, you can see where I’ve used intersections to create alternate routes and a pit lane, and where the flat terrain has been automatically raised up to match the elevation changes in the track:-

Following on from this I sculpted the terrain around the track to match it, and added a tunnel for the bit where it crosses over:-

Terrain texturing

Before painting textures onto the race track terrain, I first wanted to make some improvements over the terrain texturing that has been in the game so far.  The textures themselves didn’t really fit the visual style of the game, they weren’t varied enough, and I’m not a huge fan of “cross fade” blending between the textures either.

So I created a set of new terrain textures with a more stylised look (a mix of adapting some pre-made textures and making my own).

I implemented height-based blending into my terrain shaders (also with gloss, occlusion, and metallic maps), this was based on the mask map support in Unity’s URP (I’m using the built-in RP).  I’ll skip the details here for brevity, but here’s a comparison between conventional and height-based blending:-

And now here’s the terrain with the textures painted onto it (and also with some tweaks to the pit lane area):-

Terrain details and trees

The next job was to add some terrain details (grass & rocks) and trees.  I implemented custom shaders for all these, in order to have deferred lighting support, and translucency on the tree leaves.  I created tree models using Unity’s old tree editor, which is somewhat flawed (I think it might be abandoned nowadays?), but it did the job, and besides I couldn’t justify spending money on a third party tree creator tool!

I implemented a simple tool in Unity to procedurally place the grass and rocks based on the underlying terrain textures (e.g. so I could quickly place the grass details on top of wherever the grass terrain texture is painted).  The trees I just placed by hand.

Here are some images of the final result:-

Desert map

I also worked on the old desert map to bring it in line with the new one, by switching over to the new stylised textures, adding grass & rock details, and adding trees.  The desert map was created procedurally using TerrainComposer (http://www.terraincomposer.com/terraincomposer-2-2/), so it was fairly simple to set up and automatically place the details and trees.  They definitely add a bit more life to the old map:-

Next steps

Overall I’m reasonably happy with how the race track map turned out so far, the track itself is a lot of fun to drive on, although visually I feel the map is still lacking something in some places.  I’d like to tweak the terrain and tree textures some more, improve the pit / paddock area, and maybe place more objects (such as large rocks) around the map.  Hopefully that’ll help.

More importantly, I need to finish laying out the rest of the map, by adding an oval track (I’ve made a start on this already), a go kart track, and an off-road track.  Beyond that, I’ll probably fill out the remaining outer regions of the map with more generic elements (hills, mountains, etc.) which should be less time consuming to make.

GearBlocks on Steam

GearBlocks on Steam

GearBlocks on Steam

GearBlocks on Steam

GearBlocks on Steam

GearBlocks on Steam

GearBlocks on Steam

GearBlocks on Steam