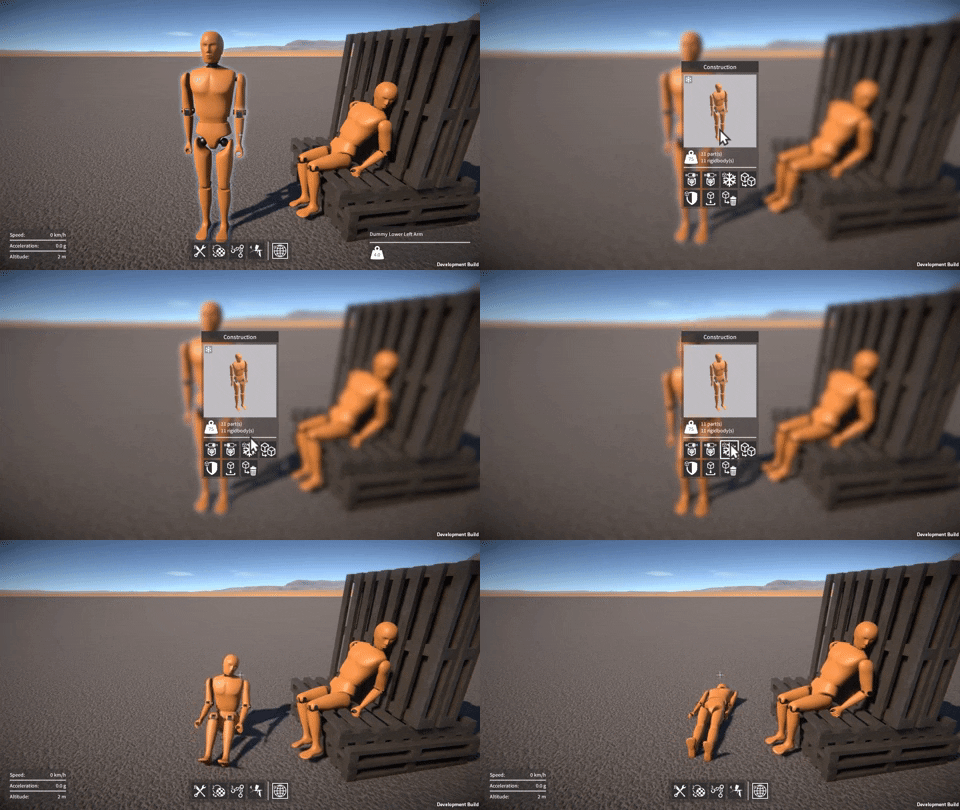
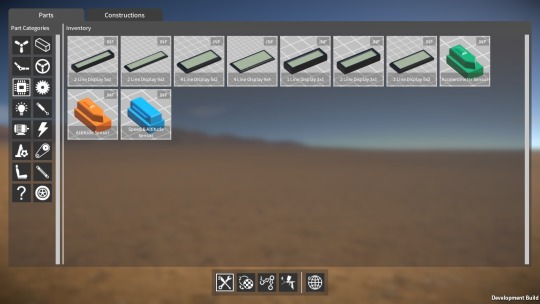
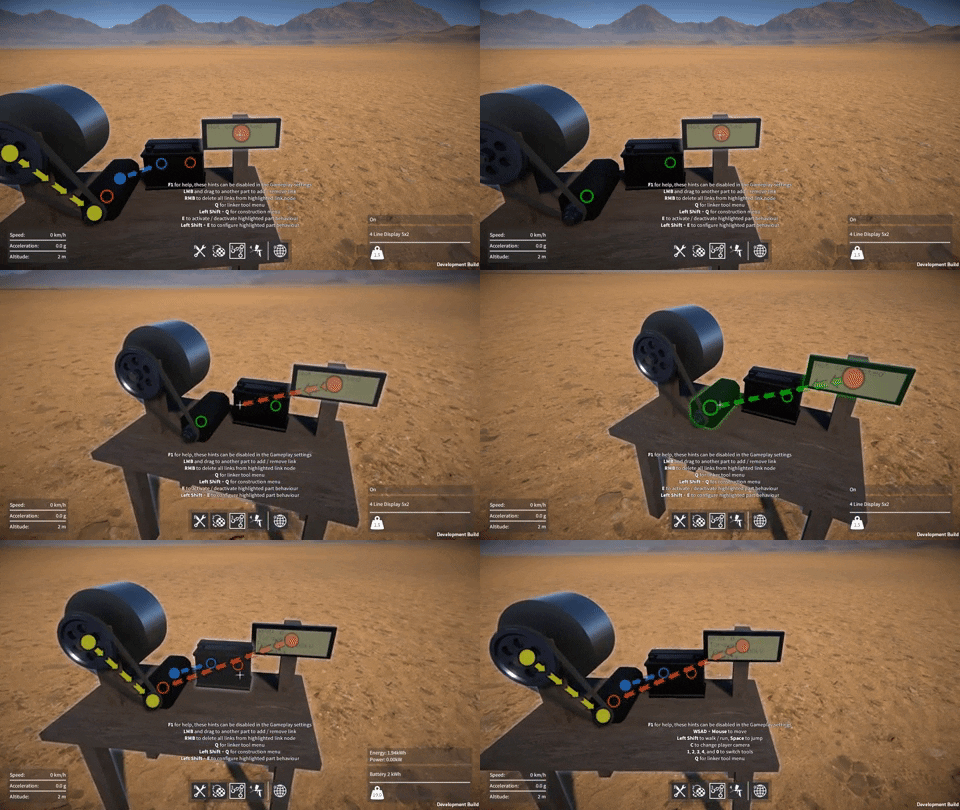
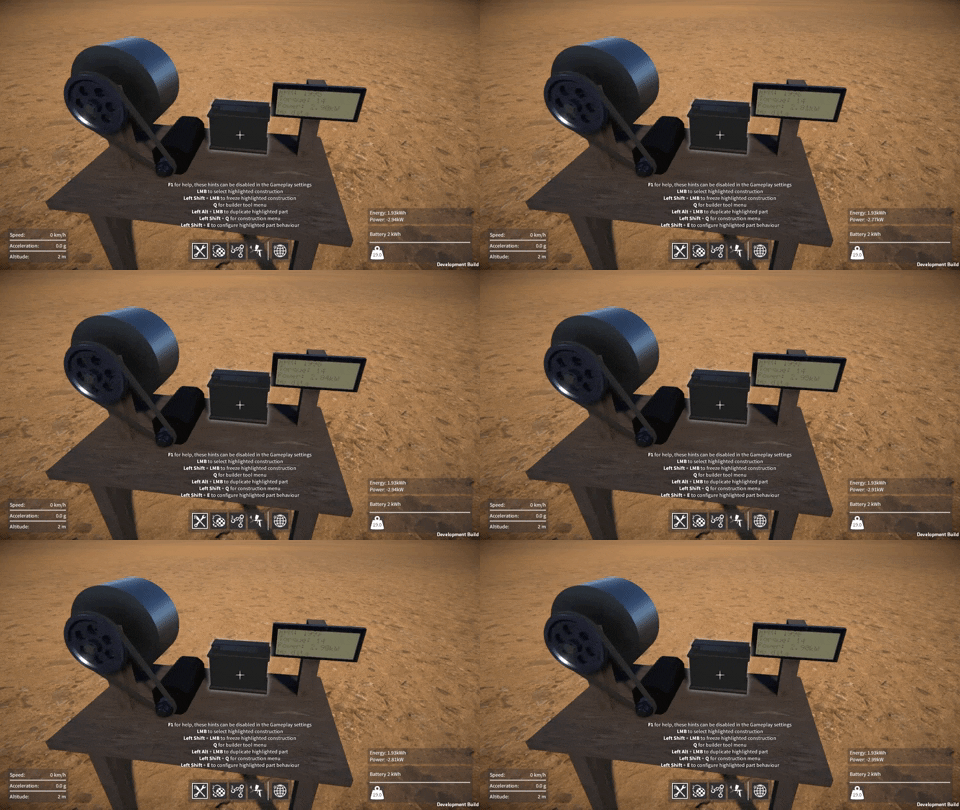
Body parts

Time for a long overdue update!  I’ve done a lot over the past two months so I’ll have to split this into a couple of blog posts.  In this first one we’ll look at the character models I’ve been working on.

Crash test dummy

A while ago I added knuckle joint connectors which, along with the ball and socket connectors, can be used to construct simple rag-doll characters.  This got me thinking, it would be cool to have some proper body parts with the connectors built in to them, which could be assembled in the game to make more convincing humanoid rag-dolls.  I figured a crash test dummy would best fit with the idea of being made up of rigid body parts with exposed joints.

The first thing I had to decide was what body parts would be needed.  I wanted to allow for flexibility of movement, but not have so many parts that building a character in the game would be unmanageable.  I settled on the following 11 parts:-

  • Upper and lower torso (initially I had a single torso part, but in the end I had to split it to allow for animation – see “Player character” below).
  • Head.
  • Upper and lower left arm.
  • Upper and lower right arm.
  • Upper and lower left leg.
  • Upper and lower right leg.

The second problem to solve was the joint connector locations and body proportions, this was tricky as I wanted to keep all the connectors on unit boundaries (or failing that, half unit) relative to one another, while keeping the dimensions of all the body parts in proportion.

After these decisions were resolved it was time to fire up Blender and make some parts, here’s what I ended up with:-
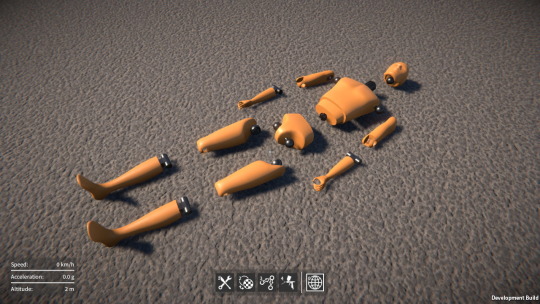
image

…and once assembled together:-

image

I added attachment points on the hands so that other parts such as axles can be connected to them:-
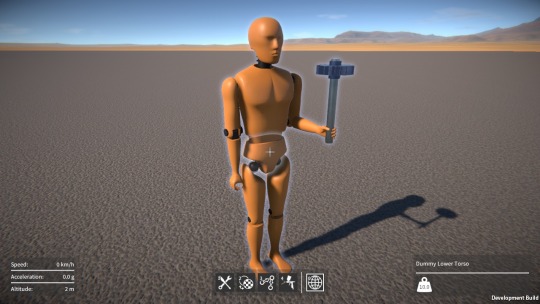
image

…and because the body parts are compatible with everything else in the game, you can create all sorts of nightmarish stuff!
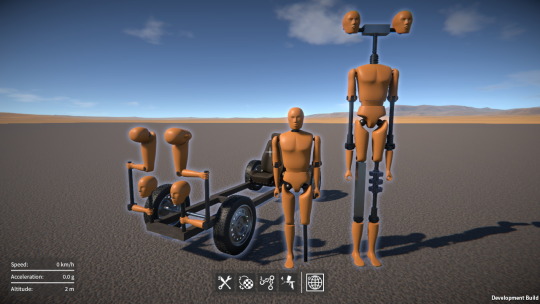
image

Player character

One of the longest unresolved design problems in GearBlocks has been the player character model, the skinned models in the game at the moment are just placeholders and were well overdue to be replaced.  The trouble is, I couldn’t decide what the player model should look like, or how to have it fit in aesthetically with the rest of the “GearBlocks world”.

Then I thought, now that a humanoid character can be built in the game from body parts, why not utilise this for the player too?  This will require implementing a way for a character built in game to be selected and used as the player model.

To explore this idea, I decided a crash test dummy wasn’t good enough, I wanted to have a proper human.  Inspired by action figurines, I tried to make the body parts so that their joints, although exposed, are not overly obvious.  I went with a stylised appearance for the face and hair, this was partly due to the limitations of my modelling skills, but I also think this look fits the visual style of the game quite well.  Here’s what I have so far:-
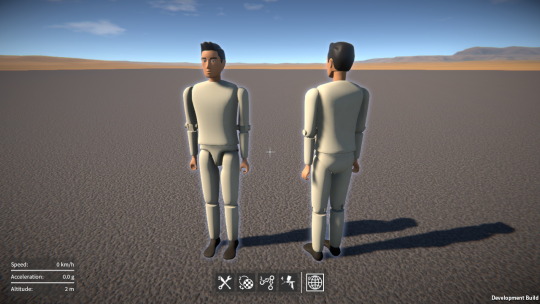
image

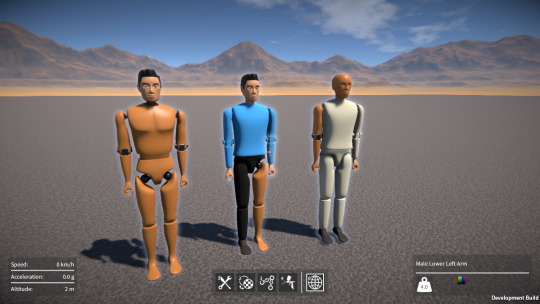
Note that this is all still a work in progress, in particular the clothing and feet need some more refinement, as do the skin and hair shading.  At some point I’d also like to add a female variant, and other skin tones.  Plus it would be cool to have accessories (such as crash helmets).  I did make the clothing paintable however, which allows for creating somewhat unique looking characters:-
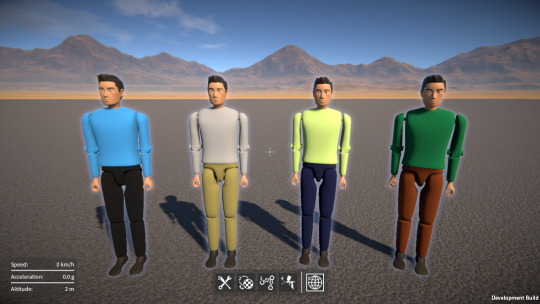
image

…and of course you can mix and match with the crash test dummy parts!
image

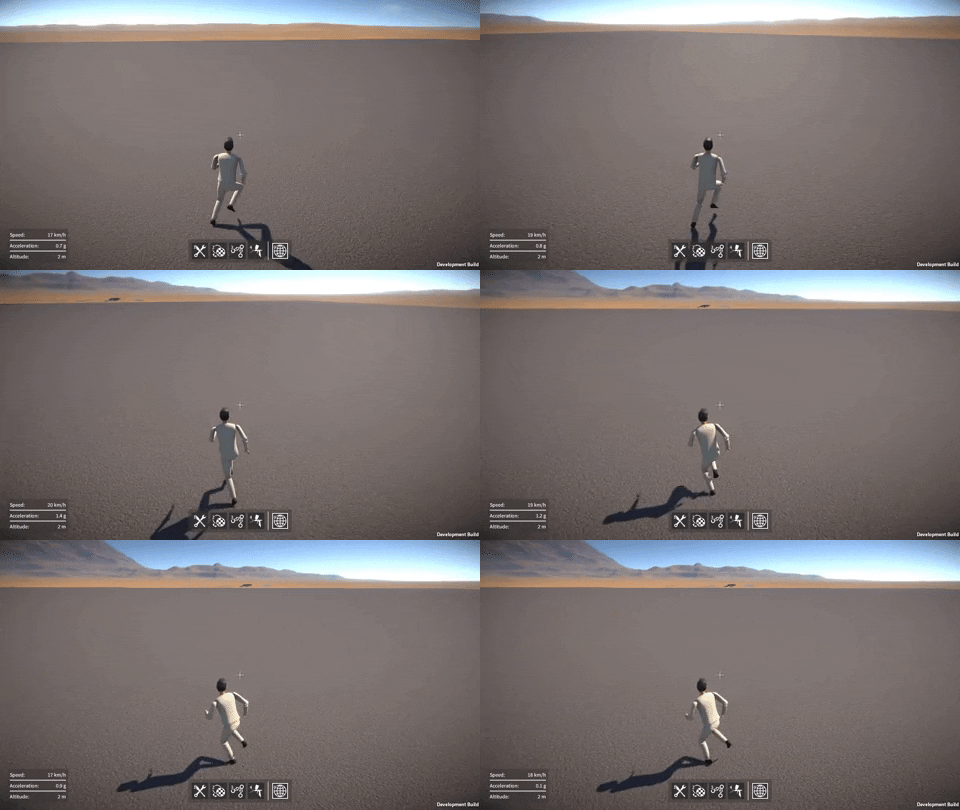
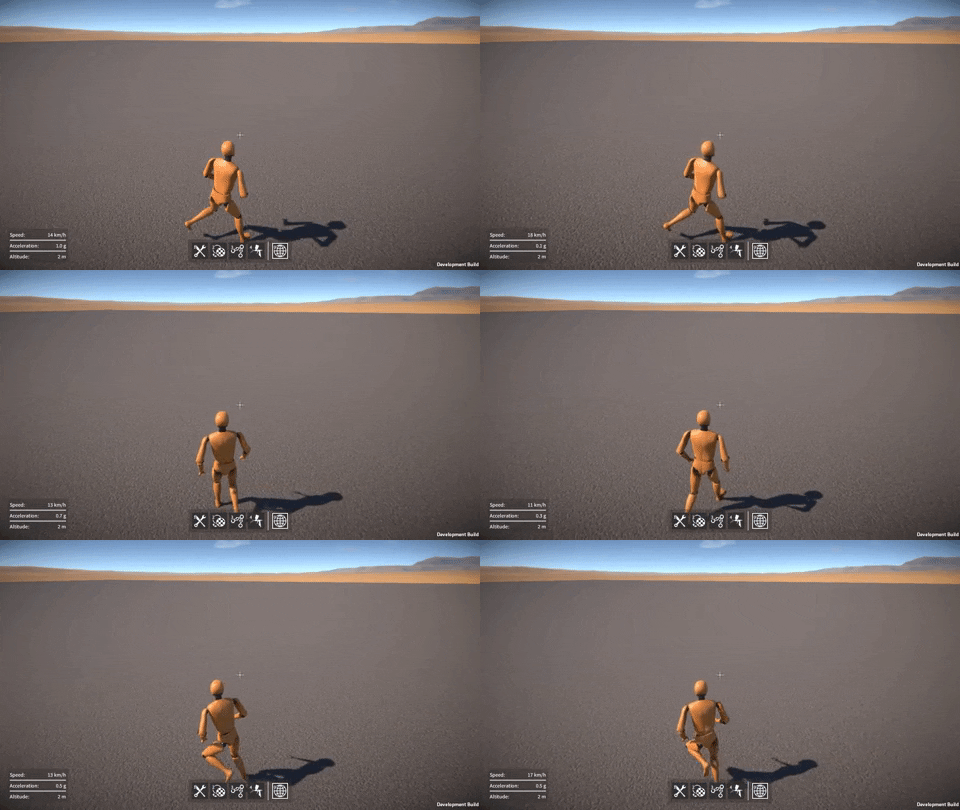
I haven’t yet implemented the system to make a built character “become the player”, this will need to hook up the body parts to the appropriate animated bones (replacing the old skinned mesh altogether).  For now I’ve hacked something together so I can test these character models out with the player animation system to make sure they work properly:-
image
image

The animations you see here are all new, in fact most of my time over last two months has actually been spent on the player animations, and this will be the topic of the next post…
Text decals, data links, and electronics

I’ve been wiped out with a nasty bug over the last couple of weeks which slowed productivity somewhat, still got quite a few things done though!

Text decals

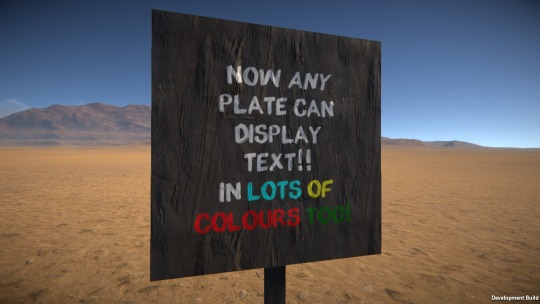
I implemented a decal shader that can modify material properties in the g-buffer independently of normals.  This allows for rendering over the top of objects already rendered in the scene, modifying albedo, smoothness, etc. while leaving the underlying normals as they are, which gives a “painted over” look.  I wrote this shader specifically to work with rendering font text from the Unity UI.

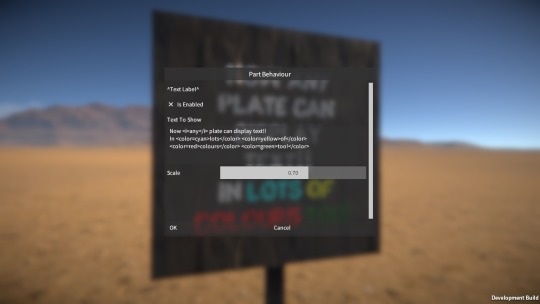
Then, I added a Canvas in World Space mode and a UI Text component to the resizable plate part, and implemented a new text label part behaviour to configure the text string to be shown.

With a “painterly” font, it’s quite a nice effect, here’s an example of what it looks like:-

image

And here’s the part behaviour UI the player can use to configure the text string:-

image

This will be handy for labelling things on constructions, and I’m thinking I might make use of it in future challenge game mode scenarios / tutorials.

Data links

I refactored the part behaviour linking code using various interfaces to better decouple the code and make it easier to add new link types.  I also made some minor fixes and improvements to the linker tool.

I then implemented a new data link type, which allows part behaviours to expose “data channels” that can be accessed by other linked part behaviours.  Where appropriate, I added data channels to all the part behaviours already in the game, for example the electric motor now exposes its current RPM, torque, and power values.

Electronics

Now the dawn of a whole new category of parts, electronics!  I hope to expand on this a lot more in the future but here’s what I’ve done so far.

image

Putting the text decal shader and the data links together, along with a LCD display font, I implemented some text display screen parts that show the data channels of the part they’re linked to.

Here you can see the new data link type being used as we link a display to a motor:-

image

The display screen showing the motor’s data channel values while it runs:-

image

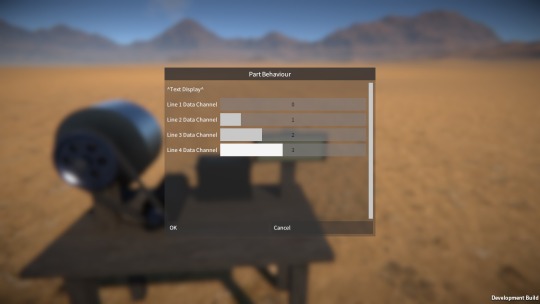
These displays have a part behaviour that lets the player assign a data channel to each text line on the display.  Here’s the UI for this, it needs some improvement but is functional for now at least:-

image

I also added some “sensor” parts which are little modules that calculate their own speed, acceleration, or attitude (i.e. orientation in the world) and report these values via data channels.  These can then be linked to from the LCD displays to show their current values.

image

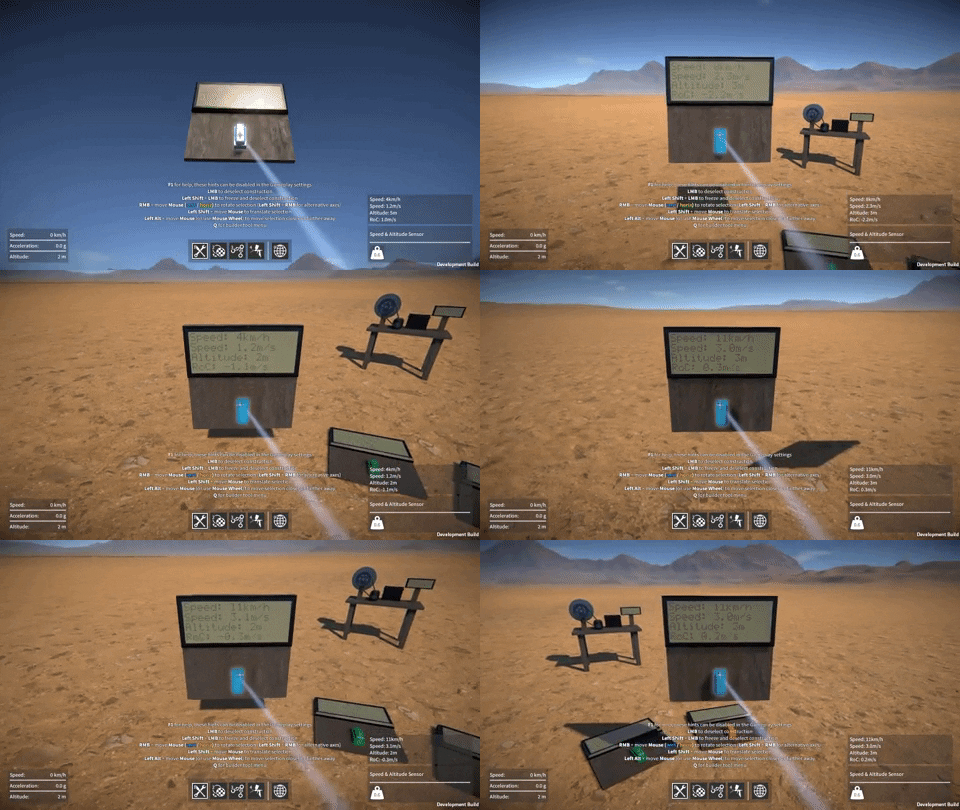
The speed sensor in action, as well as speed it also reports its altitude and rate of climb (RoC):-

image

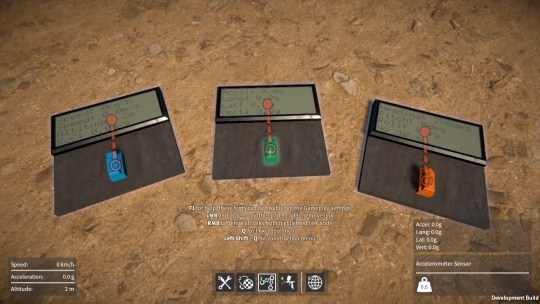
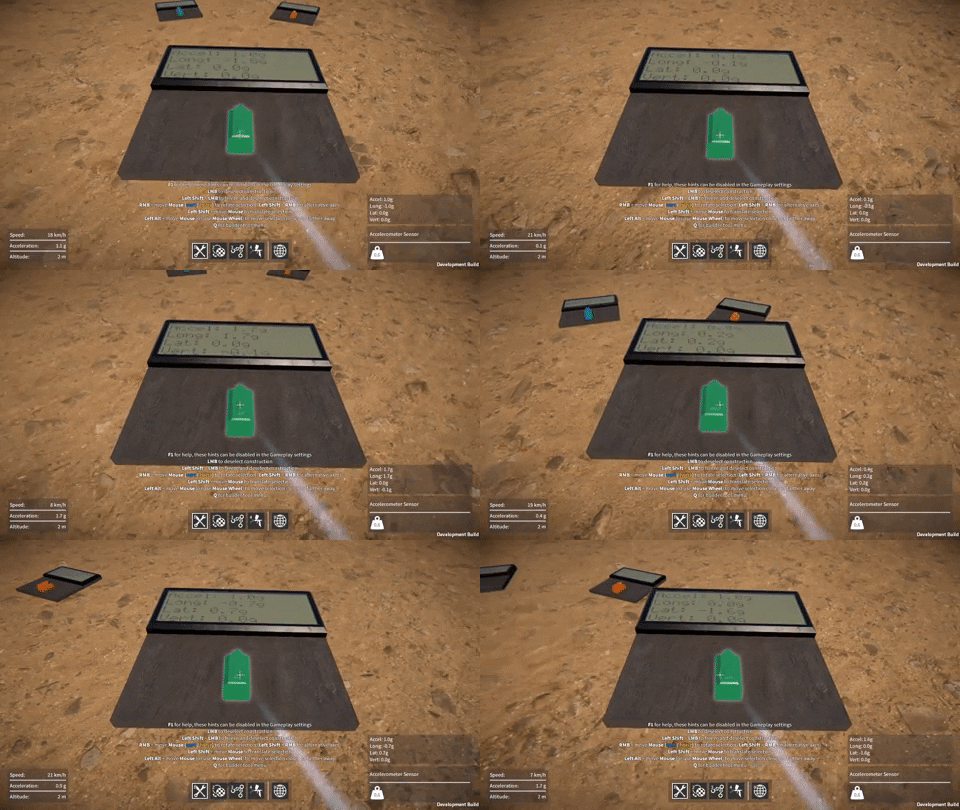
The accelerometer sensor, reporting longitudinal, lateral, and vertical acceleration separately, as well as overall acceleration:-

image

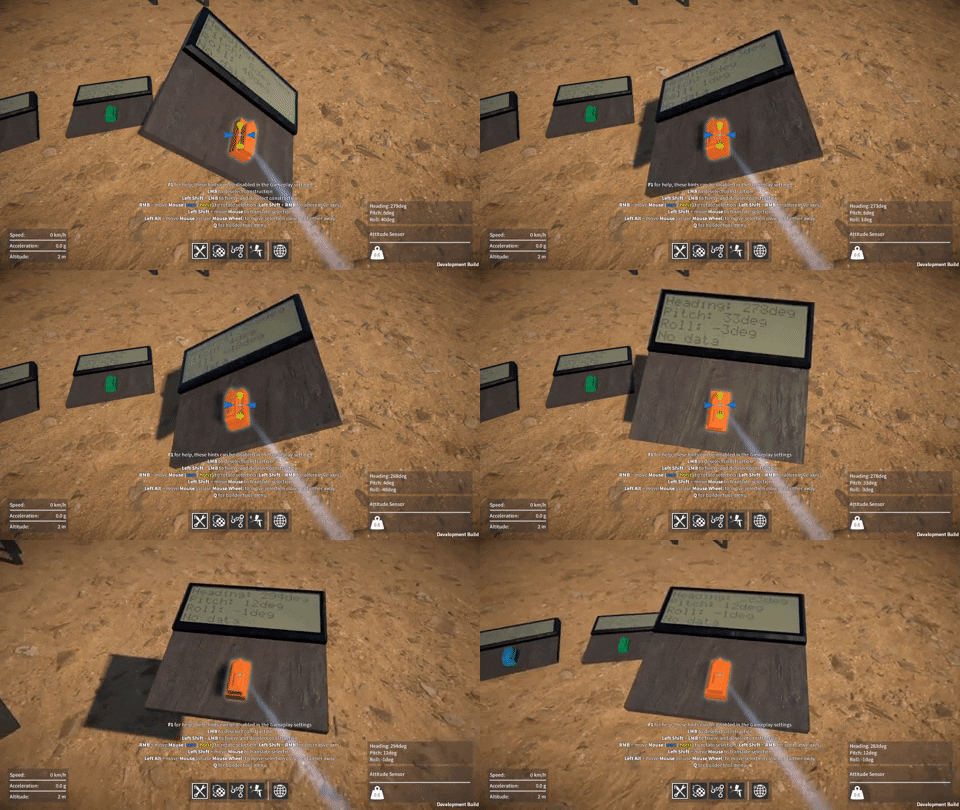
Finally, the attitude sensor, which reports heading, pitch, and roll in degrees:-

image

I have loads of ideas for more sensor modules I could add in the future, e.g. for reporting angle, angular velocity, proximity (think radar / lidar) and so on.  Let me know if you have any ideas too!  Combining these with the control links I have planned will really open things up to some very cool possibilities I think.

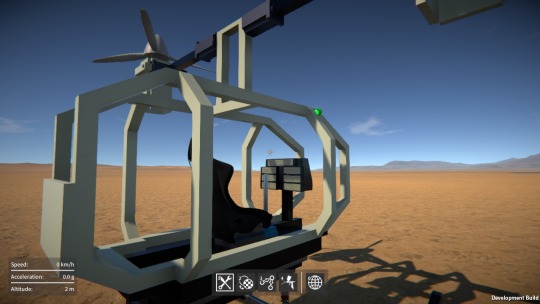
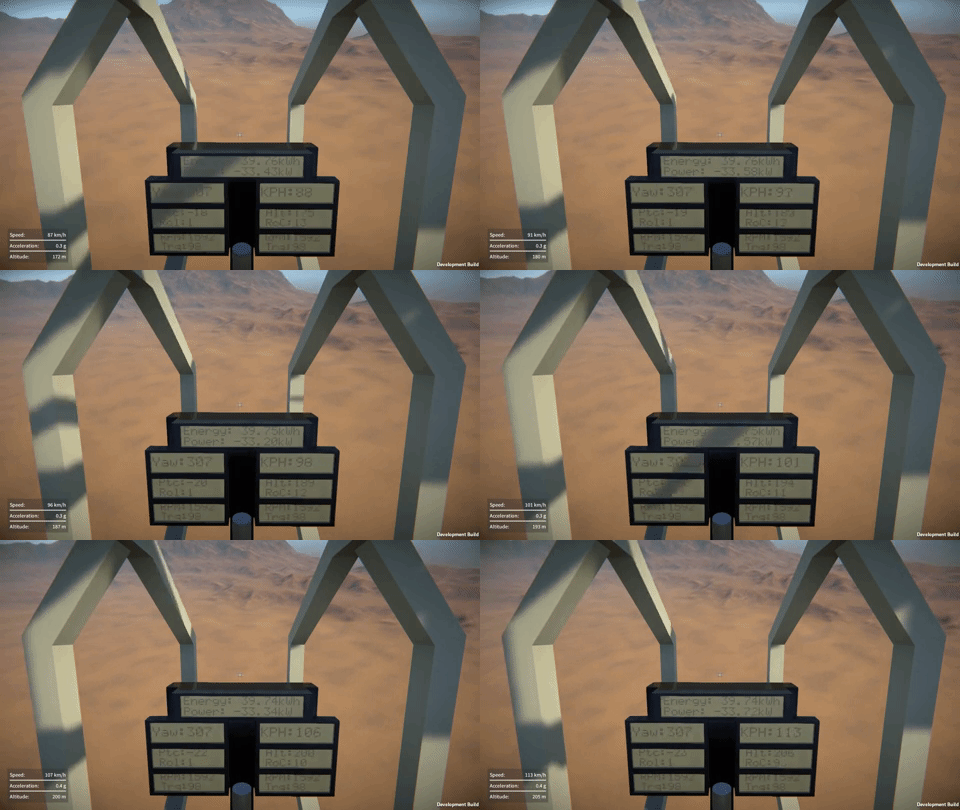
Anyway, for now I’ve just been enjoying messing playing around with these parts, like adding some sensors and LCD screens to the Mosquito flyer for flight instruments!

image
image

Linker tool, power, and more

Here’s a quick update on what I’ve been working on over the last month or so!

Linker tool

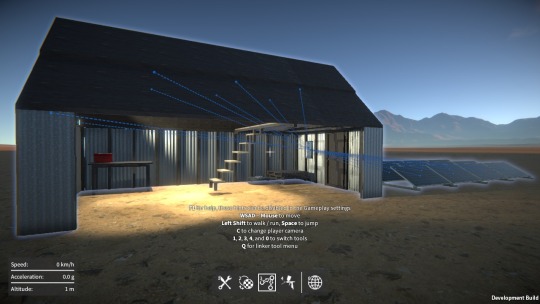
After a long hiatus from working on it, I finally went back and completed the linker tool.  The first attempt at this tool that I did a while back was hard-coded to work with the pulleys, so I had to generalise the implementation to support different link types.  A part can now have one or more link nodes that are associated with its part behaviour(s).  When the linker tool is active these link nodes can be highlighted by the player, which they can then click on and drag to another link node to create a link between them.

These are the different link types that I’ve done, or am planning to do:-

  • Pulley – used to route belt between pulleys, implementation now complete.
  • Power – used to link motors, batteries, solar panels, this is also now done (see “Electric Power” below).
  • Data – allows one part behaviour to query data from another linked part behaviour, an example could be a screen that can be linked to a motor to display its current RPM.
  • Control – allows one part behaviour to control another part behaviour, an simple example being a switch that can be linked to several motors, lights, etc. to turn them on / off together.

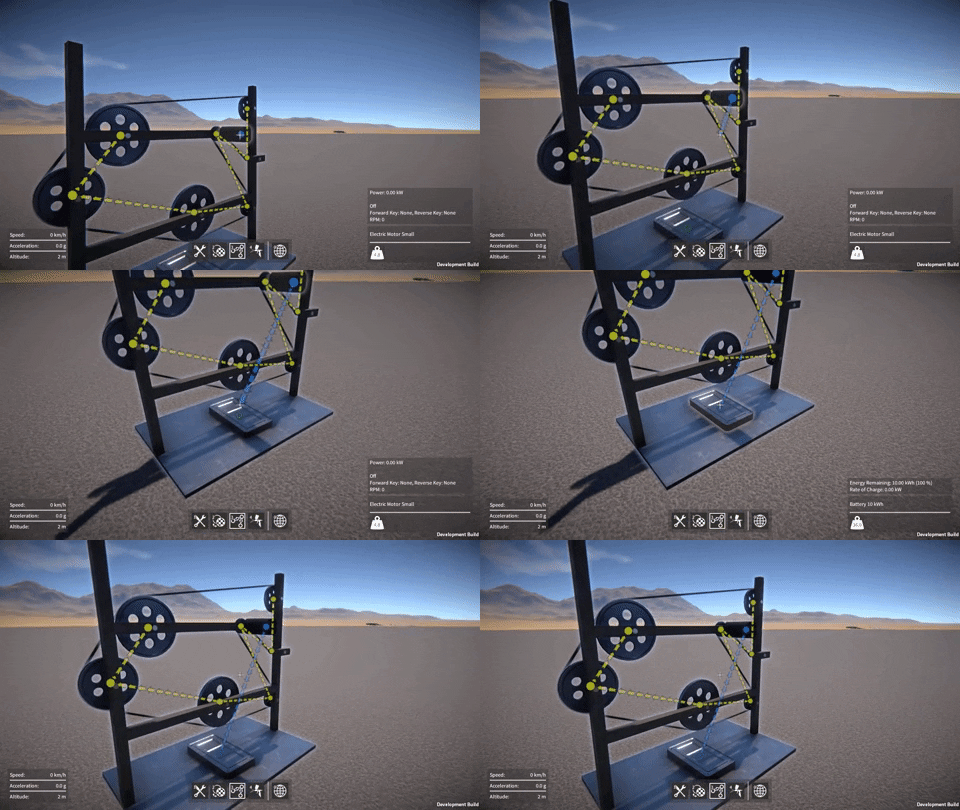
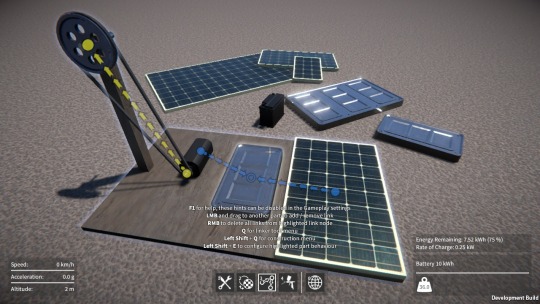
In this example you can see some pulley links and a power link being added between a motor and battery:-


As there are now different link types, I’ve made a few tweaks to make it
easier to manipulate them.  The indicators for each link type are
colour coded so that they can easily be distinguished from one another,
and there is now a linker tool UI that allows links of different types
to be shown or hidden.

Electric power

As I mentioned, I’ve now implemented “power” links so that motors, lights, and so on can be linked to batteries.  I implemented code in the motor and light part behaviours to calculate a power value that is then used to discharge energy from the linked battery / batteries.  Also, when braking, a motor will now regenerate energy back into its linked battery / batteries.

The battery part behaviour itself does very little other than tracking the battery’s current state of charge.

I’ve also added solar panels, these have a simple part behaviour that calculates a power value based on the panel’s surface area and its current angle relative to the sun.  This is then used to charge energy into its linked battery / batteries.

It’s fun to play around with this stuff in conjunction with the day / night cycle in the game, using solar panels to charge a battery during the day which then powers your lights at night:-

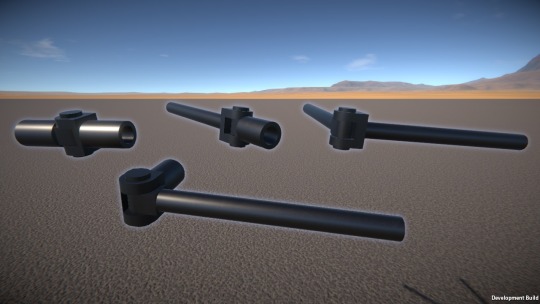
Knuckle joints

I’ve also just added a new type of hinge connector, what I’m calling a “knuckle joint”, where the parts connect in line with one another like this:-

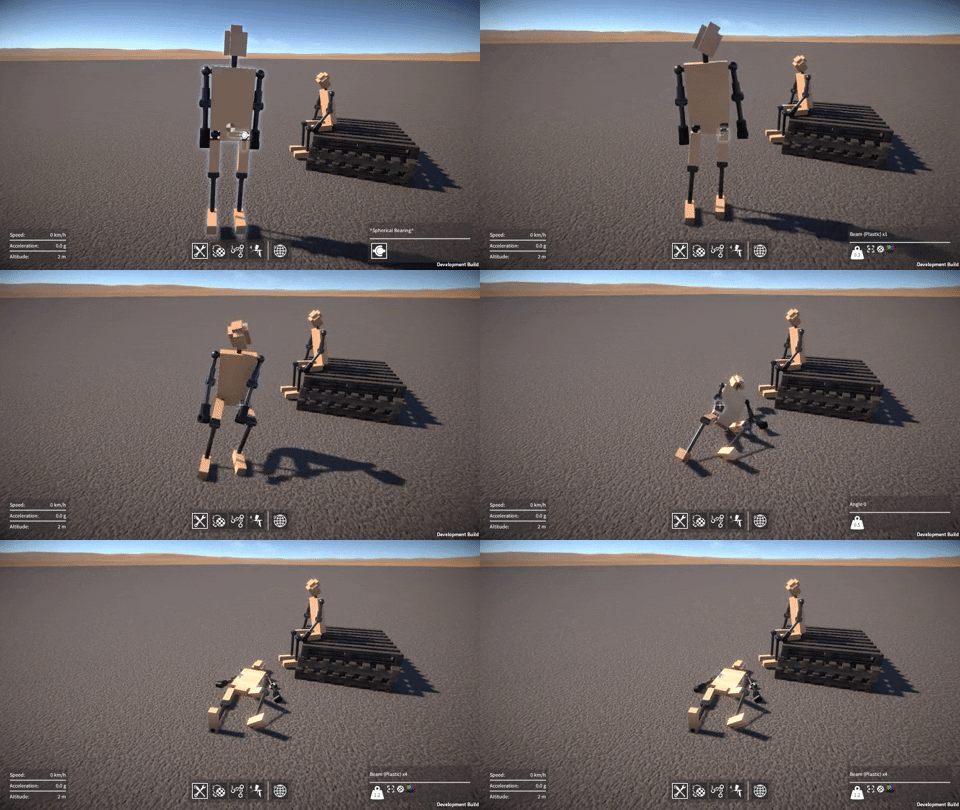
I made two versions of the knuckle joint connector, one that can rotate through 180 degrees and another that is limited to 90 degrees.  Here’s an example of using the 90 degree version, as well as the ball and socket connectors I added ages ago, to make a ragdoll in the game:-

Better building for multi-player

Most of my time over the past few weeks has been spent on a major reworking of the code for all of the tools in the game (builder, material, painter, etc.) in order to improve the building experience for networked client players in multi-player games.

Previously the tool code that responded to player inputs in order to perform various actions (such as attaching a part, breaking an attachment, applying paint, and so on) would always run on the server for all players, with each client simply sending their inputs to the server for it to deal with.  This setup made it relatively easy for the server to handle things like arbitration between players, seeing as they were effectively all running locally as far it was concerned.

However this approach was flawed, the most significant problem being the latency between client player input and an action happening, which made building really awkward to say the least.

So I’ve now re-implemented every tool so that player input is processed locally on each client.  In some cases the client must still request the server to complete certain actions, so that the server can validate and arbitrate where needed (for example, while one player is attaching one part to a second one, at the same time another player could be deleting that second part; the server needs to have the final say on the outcome in this scenario).  In many situations however, it is not necessary for the client to check with the server first (e.g. moving or resizing a selected part, painting a part, etc.), instead the client just informs the server of the change made so that it can be broadcast out to the rest of the clients.

The result is that the building experience for networked clients is now basically the same as it is in single player games.  The other benefit of these changes is that because input is processed locally for each player, it simplifies the code and makes it a bit easier to modify and improve the tools.

Builder tool tweaks

On which subject, I’ve made a couple of minor improvements to the builder tool thanks to some suggestions I’ve received.

  • Remove actions (delete part, destroy construction, etc.) are now delayed, during which time the action key has to be held down.  This should hopefully prevent annoying accidental deletions from mis-clicks!
  • I changed the default key binding for duplication from “Q” to “Left Alt + LMB”, by default “Q” is now dedicated just to opening the tool menu.

The usability of the builder tool controls is still an ongoing concern, and something I’ll have to keep plugging away at over time, but at least now it’ll be easier to implement any further improvements I need to make.

New demo coming soon

Finally, I’m getting close to releasing another demo build, and I’ve been fixing a bunch of bugs in preparation for this.  There have been a ton of changes to the code since the last demo, so I’m slightly paranoid that some as yet undiscovered bugs might have been introduced.  Time to do some more testing I think, hopefully I don’t encounter any last minute issues!

New material tool, and a new year!

Hey all, hope everyone has had a good holiday break.  I thought I’d give a quick update on what I’ve been working on over the past few weeks.

Toolbox code refactoring

Up until now, the code for the various tools (builder, linker, painter, etc.) was pretty much all in one (very large) source file.  This was driving me crazy as made it a real pain to to fix bugs, or add new features.  So I finally took some time to do something I’d been wanting to do for ages, which was to refactor this monolithic beast into separate source files for each tool.

There are still things I’d like to improve and clean up (further code decoupling, mainly), but it’s much better than it was, and makes it easier to add new tools, on which subject…

Material swapper tool

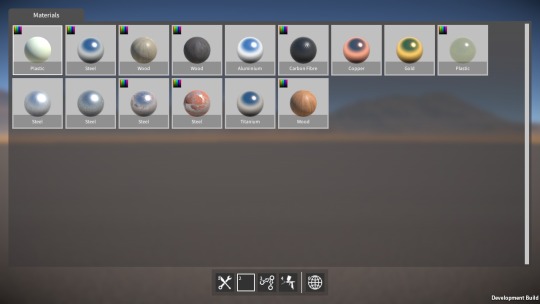
After the refactoring, I started work on a new tool that allows you to swap the material on certain parts (such as beams and plates) after they’ve been spawned, and even after they’re already part of a construction.

The first step was to add a material definition that encapsulates all the various part material properties (i.e. the rendering & physics materials, density, strength, and “is it paintable”).  Next I had to refactor the part descriptor code to allow parts to use this new material definition (seems like I’ve been doing a lot of code refactoring lately!)

image

Then on to the material tool itself, which I’m still in the middle of building.  Right now I have a first pass implementation working, with the basic UI done, and the ability to change material on the highlighted part.  There’s still more to do however; for example, save / load (including converting old save files to the new material swappable parts), and probably more refactoring as I’m not quite happy with how the part descriptor code is structured just yet.

Anyway, it shouldn’t take too much longer to finish up, once it’s done I’ll reveal more about how it works.  After that I’ll probably get back to finishing up the linker tool, as that’s been on the back burner for way too long now.

In the meantime, I’d like to say a big thank you for following my progress, particularly to those of you that have been following for a long time, and who continue to play the demo and give me feedback.  I know development of the game is frustratingly slow, but I will get it done eventually, I hope!

Happy New Year, and all the best for 2019.

Dev update Apr / May – part 2

Linker tool

I’ve continued work on the linker tool, creating the first pass implementation of an indicator for it, this can be seen above with some pulleys (notice also the automatic belt routing, sweetness!)

I think I now have a solution for how to handle parts that have multiple linkable behaviours, but I need to start implementing it to really see if it’ll work out.

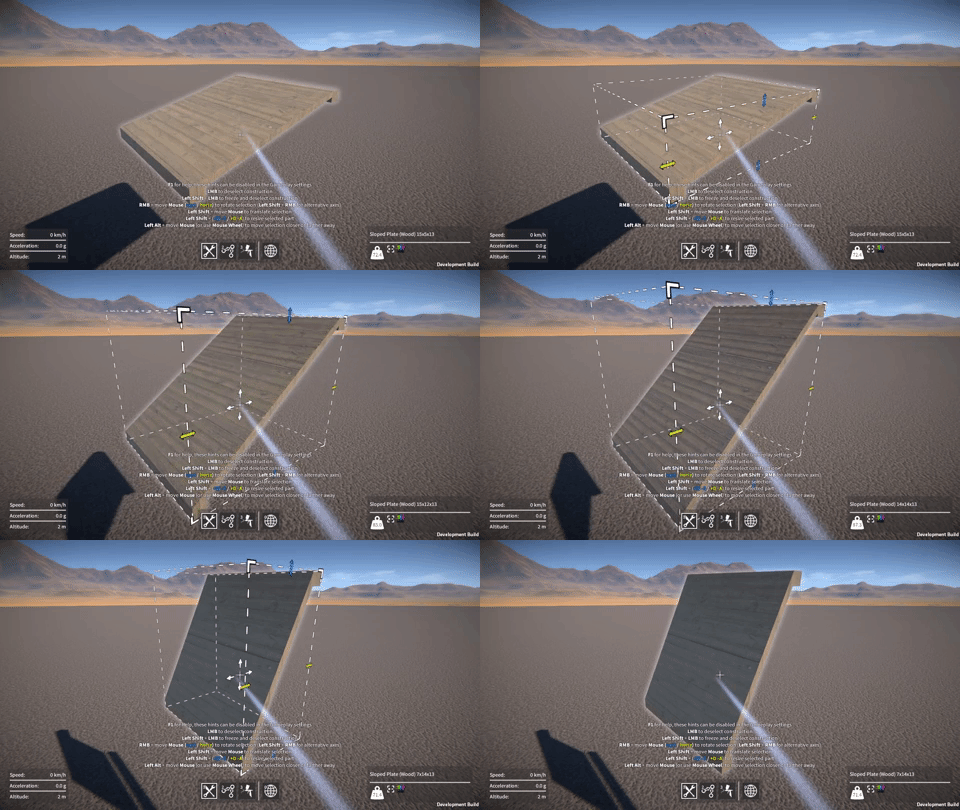
Resize indicator

I’ve added a new indicator to show the selected part’s bounds during resizing, this was particularly needed for parts that can resize along all three axes (e.g. sloped plates) to make things clearer for the user.

image

UI stuff

Up until now each part behaviour has had a specific pre-created UI with all of its elements (key bindings, sliders, checkboxes, etc.) laid out ahead of time.  This was very inflexible and made it awkward to add or change which user adjustable parameters a part behaviour exposed.  So I’ve now removed these hard-coded UIs and replaced them with a generic part behaviour UI implementation that automatically populates itself based on what parameters a particular part behaviour exposes.  This will make adding new part behaviours (and modding support!) much easier in the future.

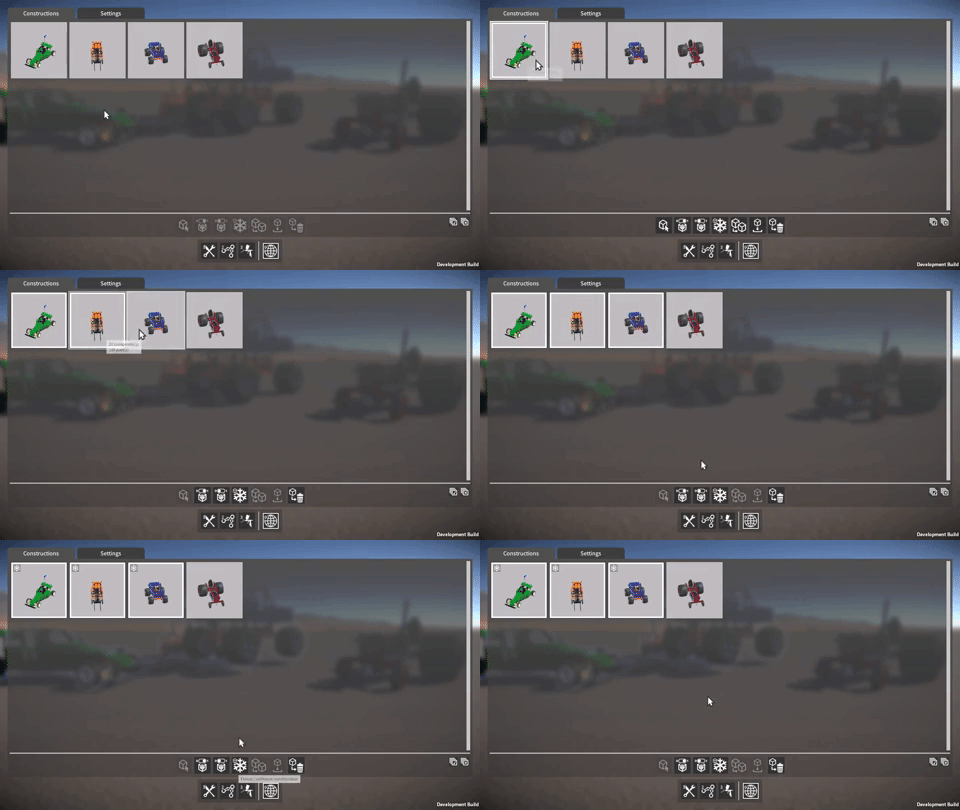
I’ve also modified the world tool construction UI to allow for multi-selection, this allows you to select multiple constructions at once and perform an operation (such as delete, freeze, etc.) on them all in one go.

image