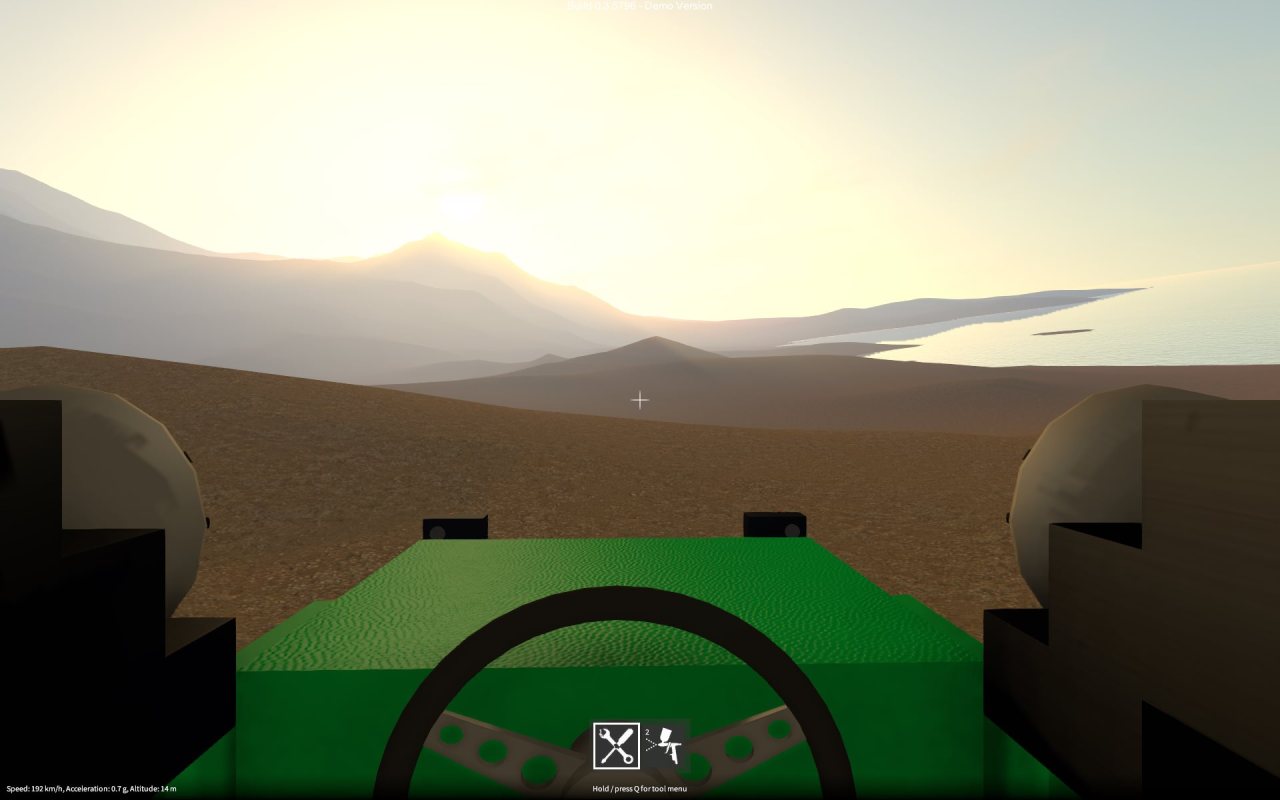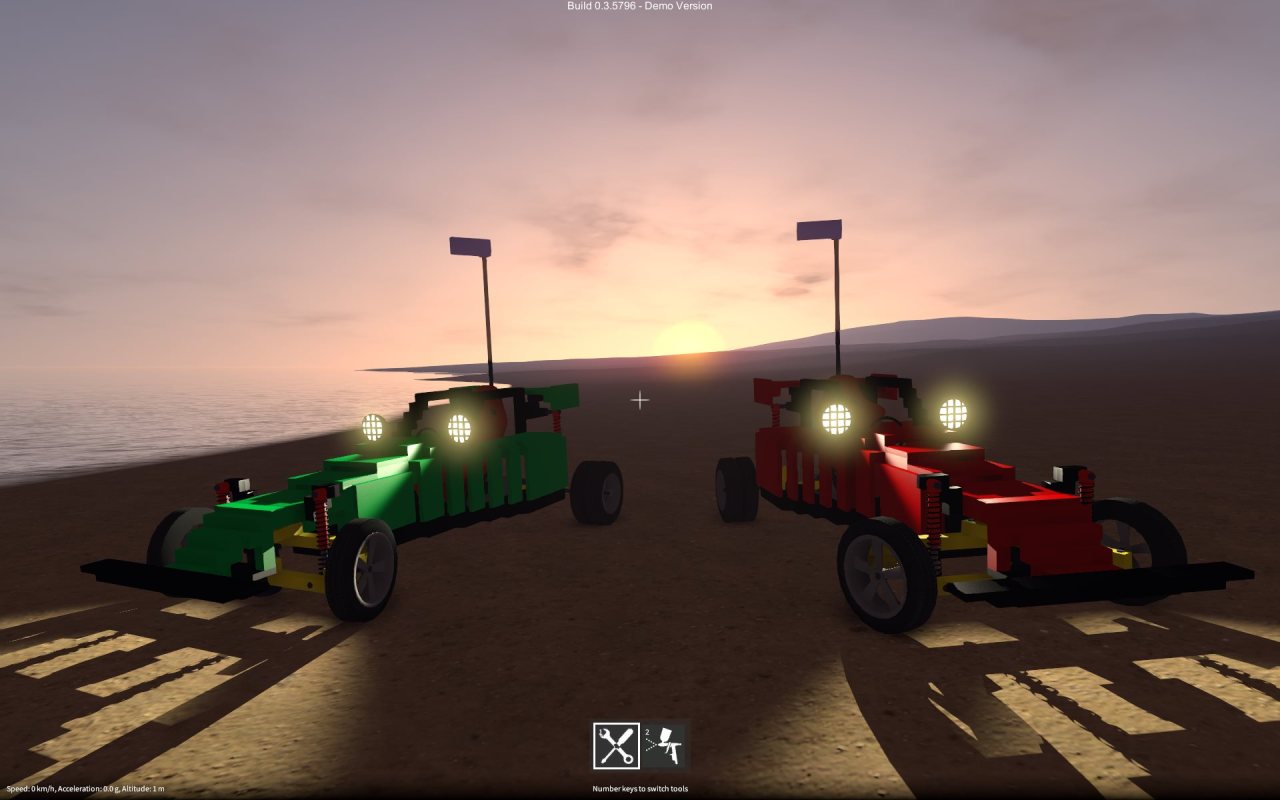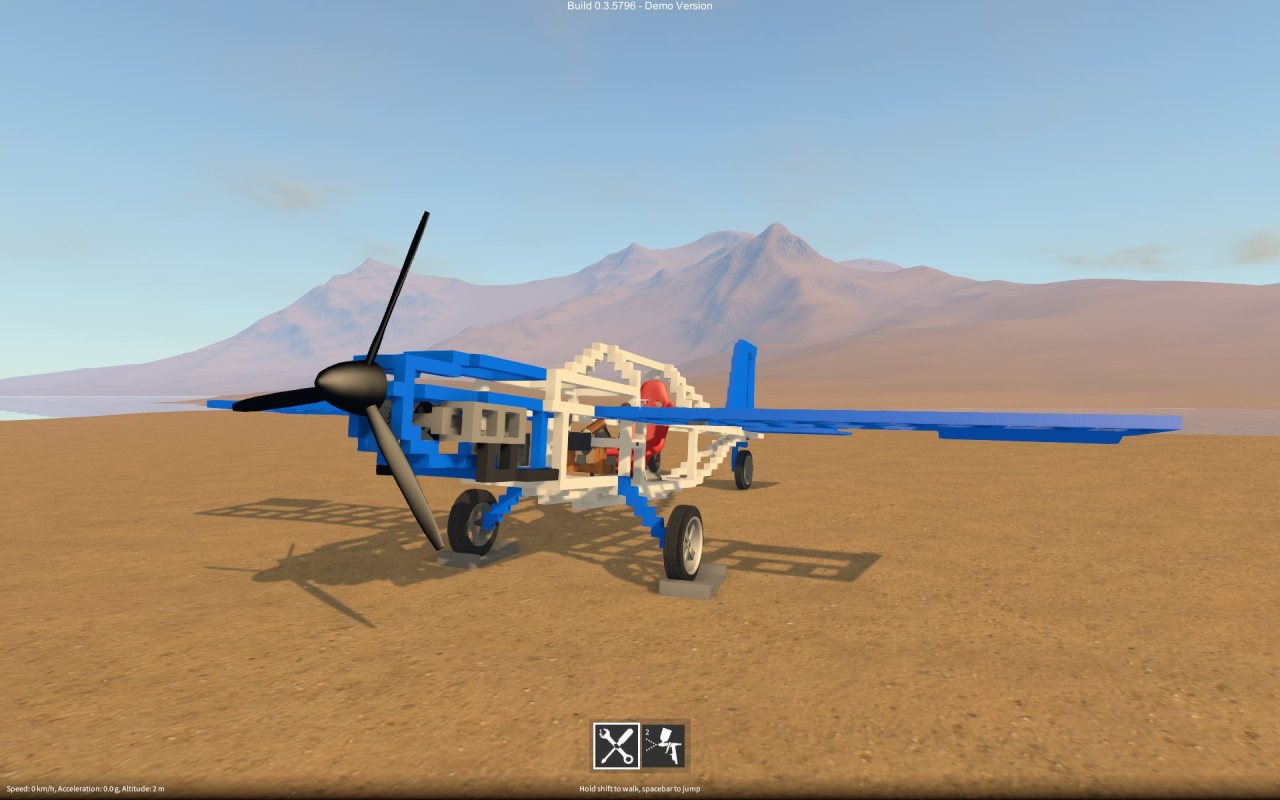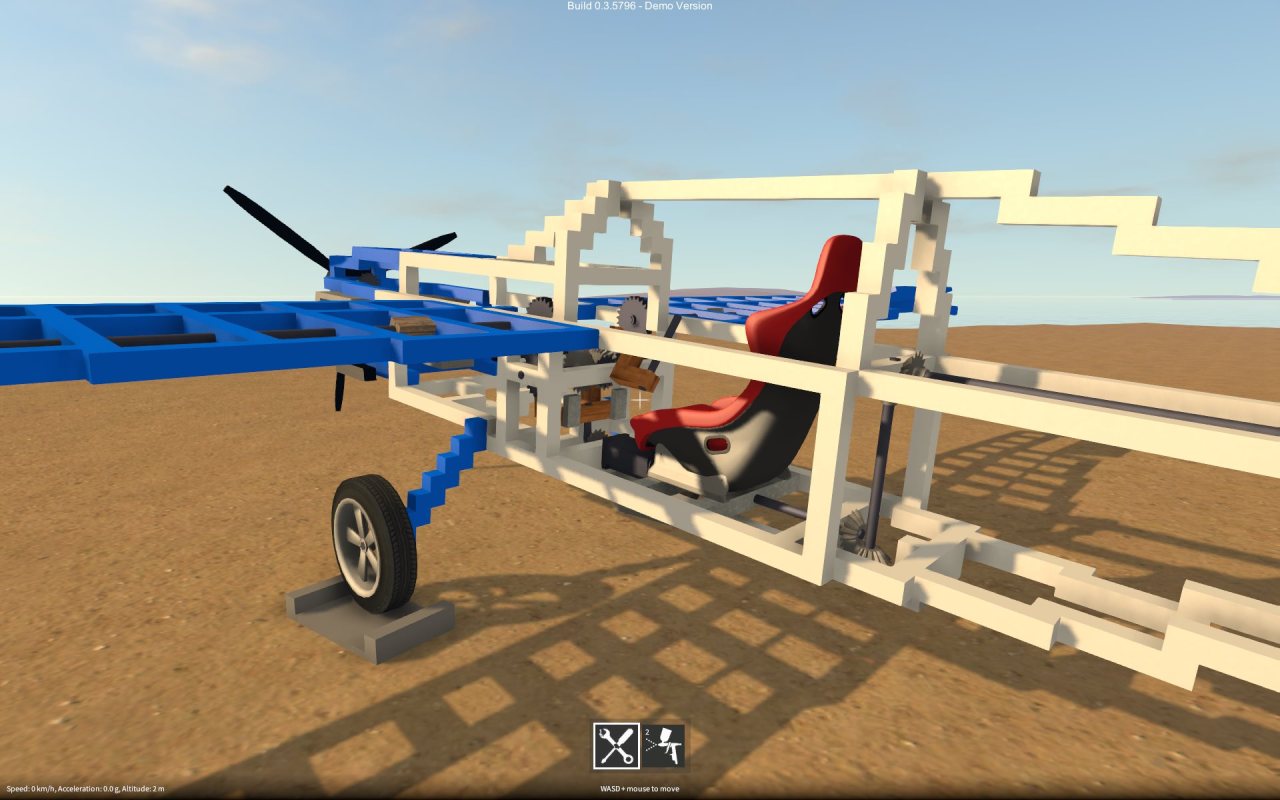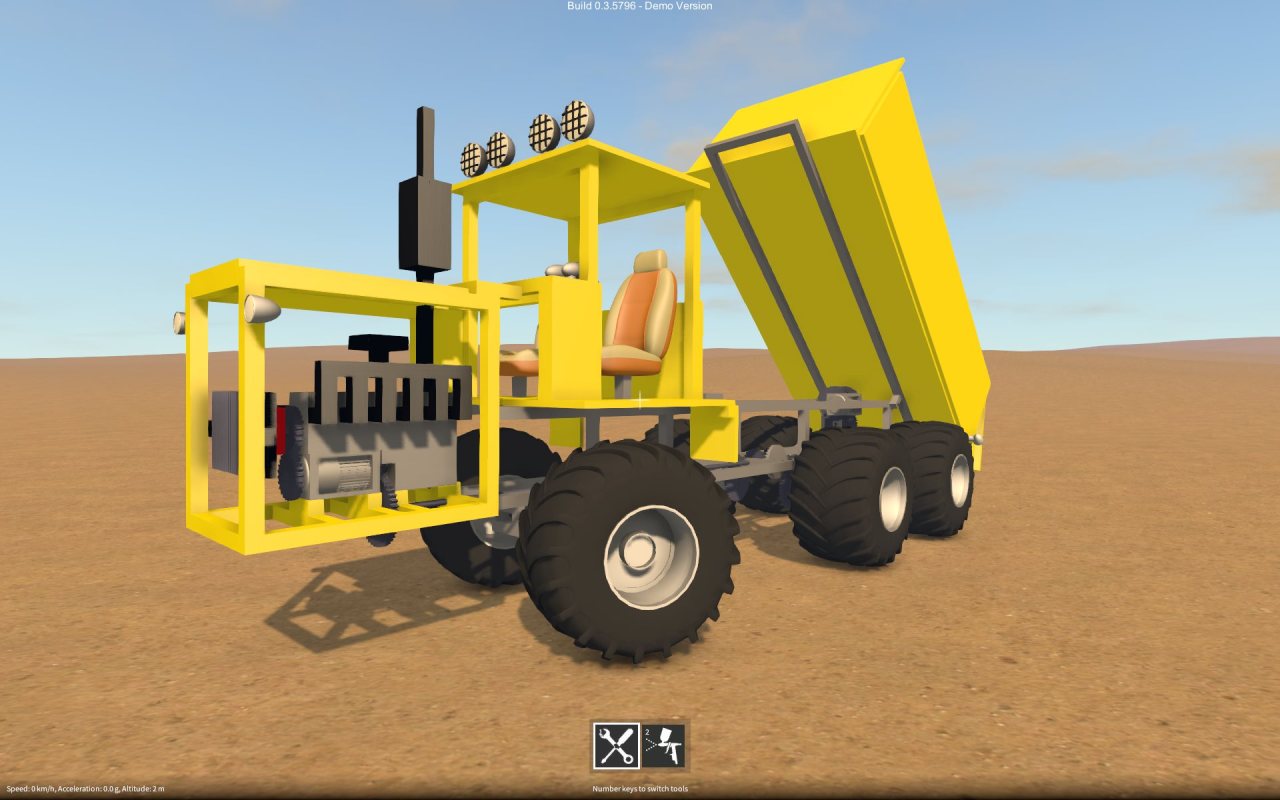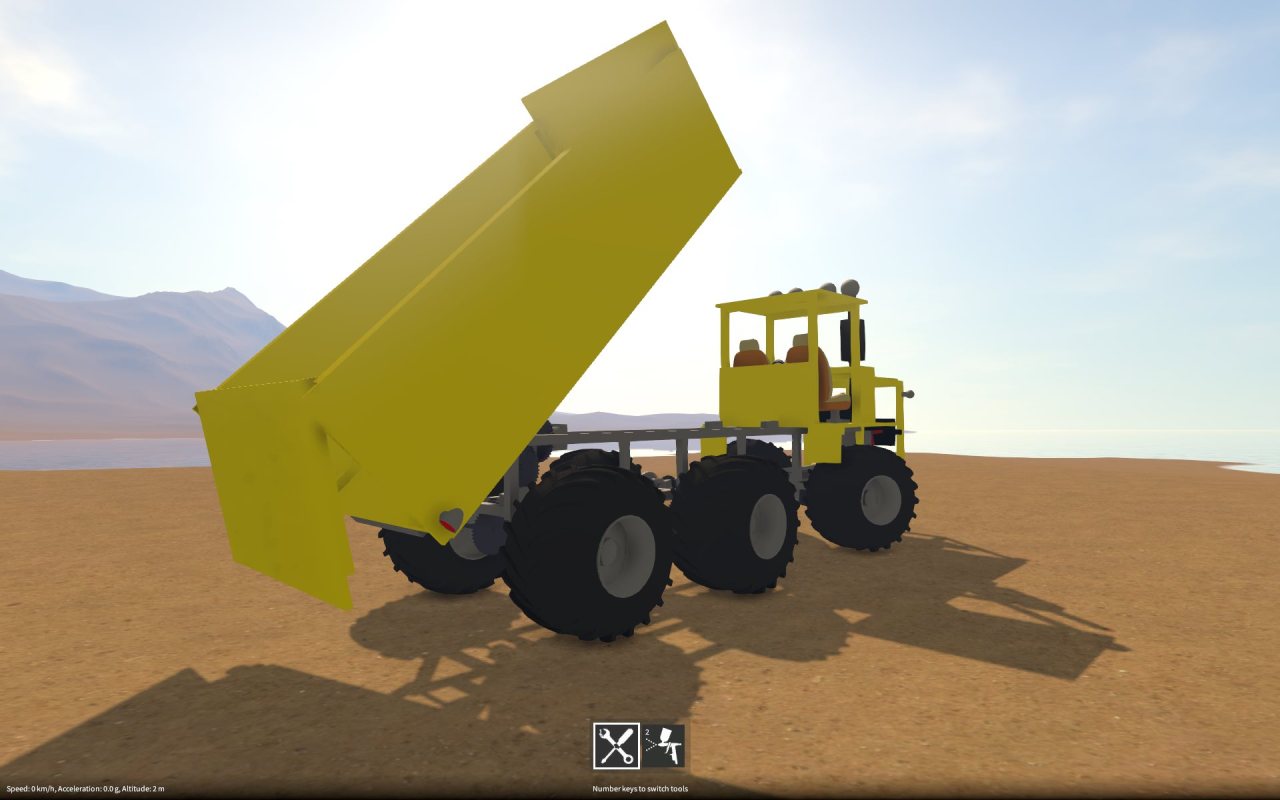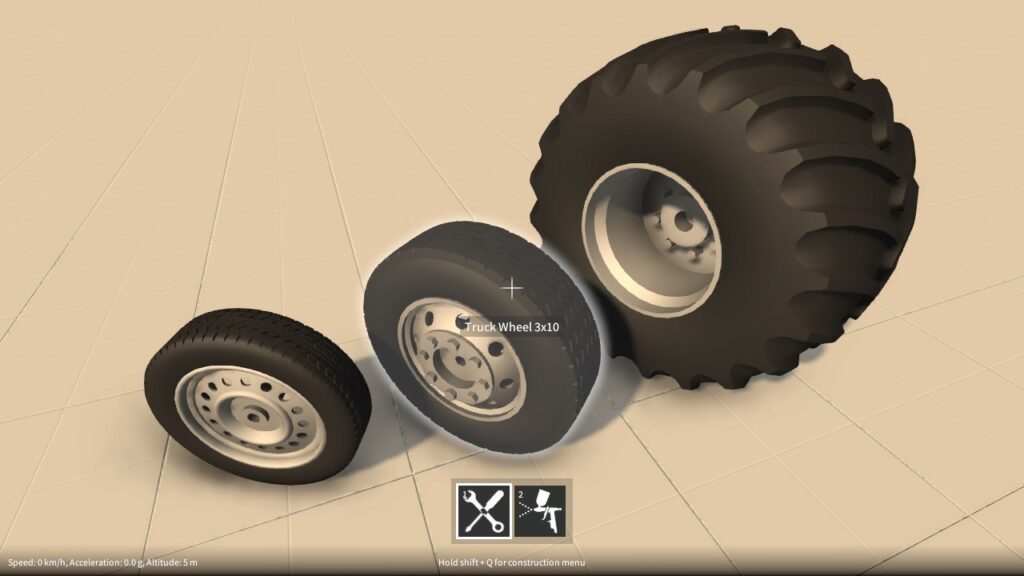
Been brushing up on my 3D modelling skills this weekend, pretty pleased with how these turned out!

Part type pairing
Over the past few weeks I’ve totally reworked the system that decides which types of parts can be attached to other parts. Previously there was a predefined list that explicitly specified the legal pairings between the various part types, including which set of attachment points to use, and what attachment types to allow (e.g. fixed, rotating, sliding etc.) This made it awkward to add new part types. When adding a new part type, you had to make sure any existing part types that you wanted to connect to it be updated too, essentially meaning the list would grow exponentially the more types you added. Unwieldy now, totally unworkable in the future.
So I scrapped the predefined list, and now legal part pairing is determined implicitly, simply by what attachment points each part exposes. For example, if a part has at least one fixed surface attachment point, it will attach to any other part that has a matching fixed surface attachment point (an example being a block attaching to another block). This opens up the possibility of parts now being able to attach together that previously couldn’t because a pairing relationship happened not to be explicitly specified.
This task took a bit longer than I was expecting because it exposed some workarounds that were relying on the old explicit part type pairing. I managed to get around most of these, but there’s one I still need to go back and address properly.
New attachment types
The attachment types have been renamed (”rigid” to “fixed”, “hinge” to “rotary bearing”, and “slider” to “linear bearing”). In addition there’s a new attachment type: “linear rotary bearing”, this allows parts to slide relative to each other along the sliding direction, and rotate relative to each other at the same time.
Axles can now be attached to blocks with the “linear bearing” and “linear rotary bearing” types (as well as “fixed” and “rotary”, as before). Gears can now be attached to axles with the “rotary” type (as well as “fixed”, as before).
Construction controls changes
Finally, there have been some tweaks to the controls. In the builder tool mode, pressing Q while highlighting a part now clones that part. In the painter tool mode, right click now removes paint from the highlighted part, and Q now samples the paint colour from the highlighted part.
Next up
As previously mentioned, I need to revisit a hack / workaround that was relying on the old explicit part type pairing system. This all ties into how I use physics collider contacts to determine which of a part’s attachment points to use, a method I’ve never been completely satisfied with. So a big task coming up will be to investigate into perhaps finding a better way of doing this.
Also, I want to revisit the Unity 5 upgrade, and see if the recent Unity updates have helped with any of the long standing physics issues I’ve had with it. I’m not expecting anything, but you never know…
I also plan to start adding some new parts that will take advantage of the new part pairing system I’ve just put in place!
Made this in GearBlocks, it’s a sort of helicopter thing. The controls are super touchy (I ended the video before the part where I crashed into the mountainside!), but it’s just about flyable. I name it…The Mosquito.
GearBlocks dev diary demoing the updated part behaviour controls.
Another demo build is out, here’s what’s in it!
Part behaviour controls
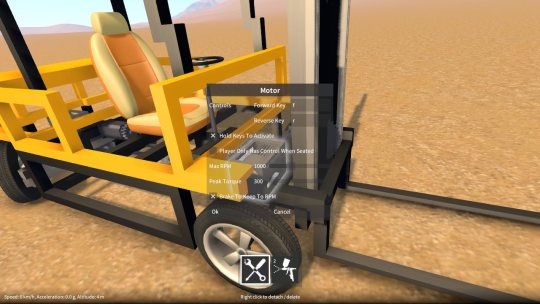
Rather than only being able to control motors, servos etc. with the directional keys (i.e. WASD), you can now assign your own keys in the part behaviour dialog (highlight the part, hold shift & press E). This opens up all sorts of possibilities as you can now control multiple motors at once using separate sets of keys. There is also the option to have the motor only accept control input when the player is sitting in a seat that is part of the same construction as the motor. This is handy, say, for when switching between vehicles that are set up to use the same key assignments.
Motor and servo improvements
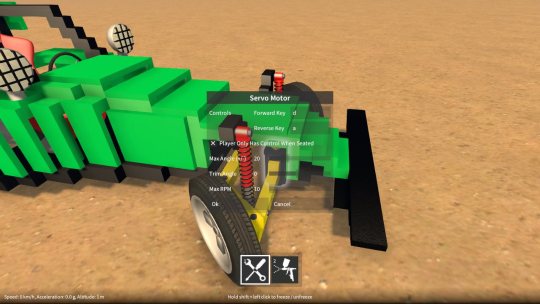
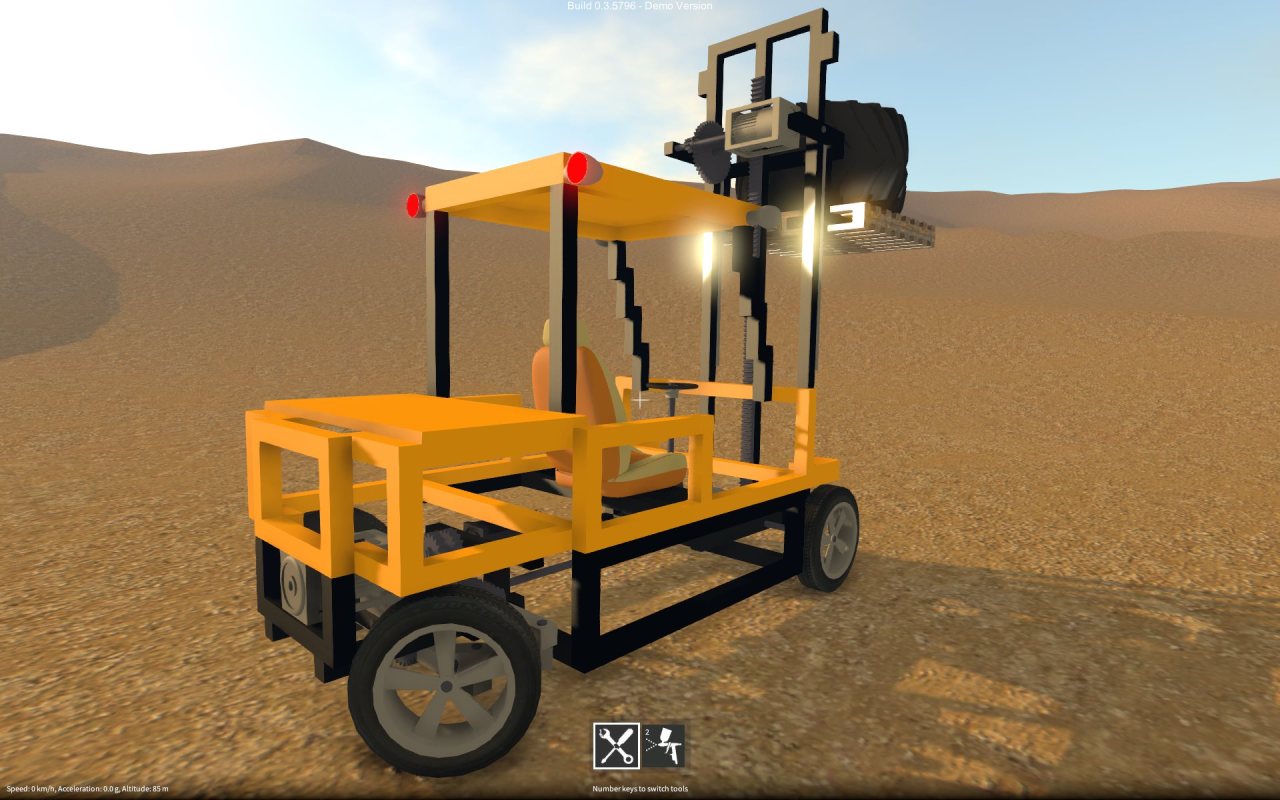
The motor now has a “brake” option that stops the motor from spinning when it is switched on but not activated. This ability to “hold in place” the drive train attached to the motor is useful for lifts, cranes, and many other things. The fork lift truck I recently posted a video on makes use of this feature to hold the forks in place when you’re not moving them up or down.
Rather than snapping immediately to its required angle, the servo motor now transitions smoothly at a fixed speed. I’ve added an RPM setting that allows this speed to be adjusted to suit the purpose you’re using the servo for.
Save / load of constructions
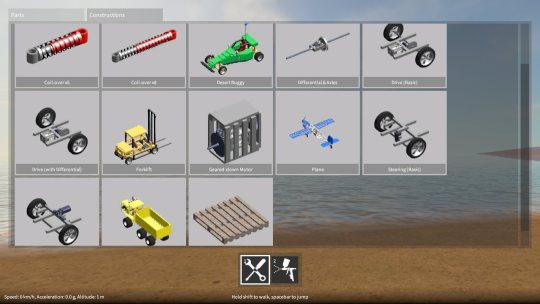
An individual construction can now be saved out by highlighting it, bringing up the construction menu (by holding shift & Q), and clicking the save button. This brings up another window that shows any currently saved constructions, lets you choose a name to save under and so on. The constructions get saved into the SavedConstructions folder under wherever you’re running the game from.
To spawn a construction you previously saved, in the builder tool mode, hold Q to bring up the builder tool GUI and click the Constructions tab. There you’ll find all your saved constructions, just click on one to spawn it. Also, I’ve included some built-in example constructions for you to experiment with!
A forklift truck I recently built in GearBlocks, making use of slider rails and rack & pinion gears to move the forks up and down.