
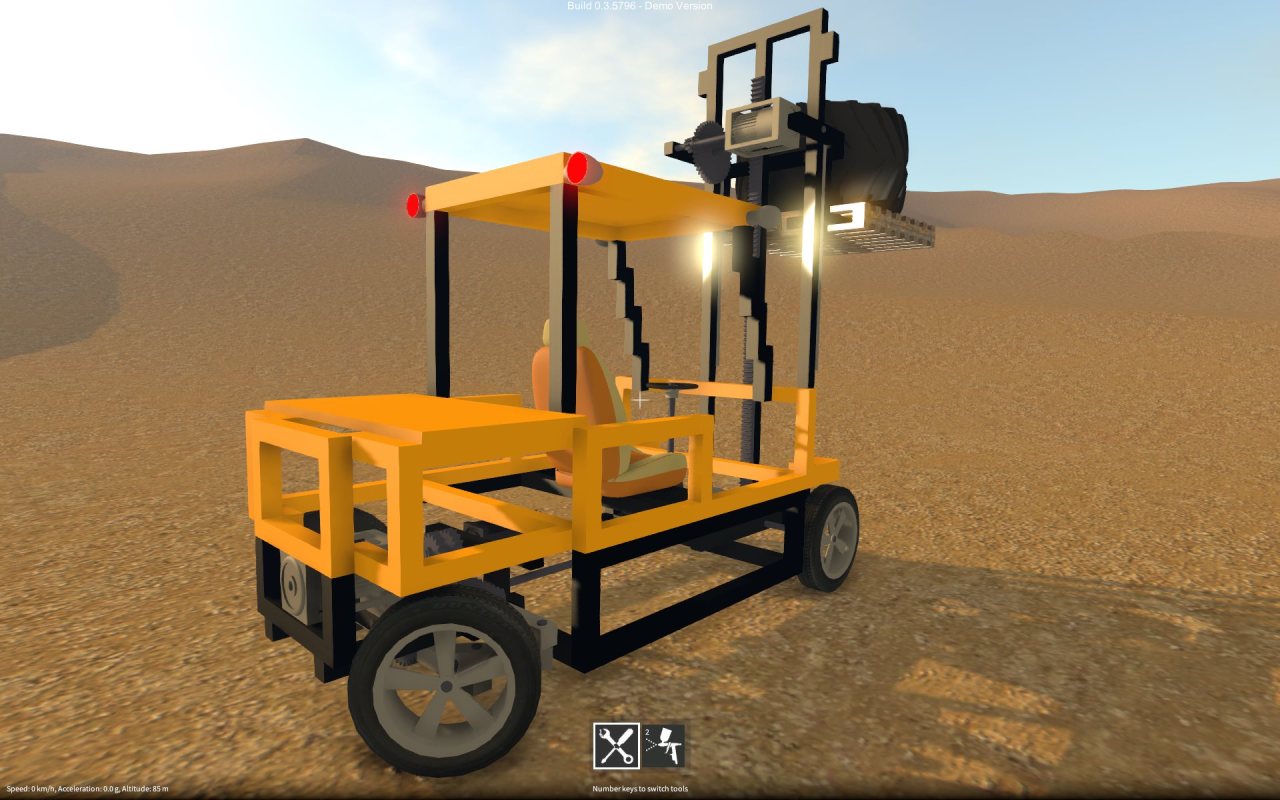
Another cool GearBlocks user creation – this time, a front loader.
Tag: gearblocks



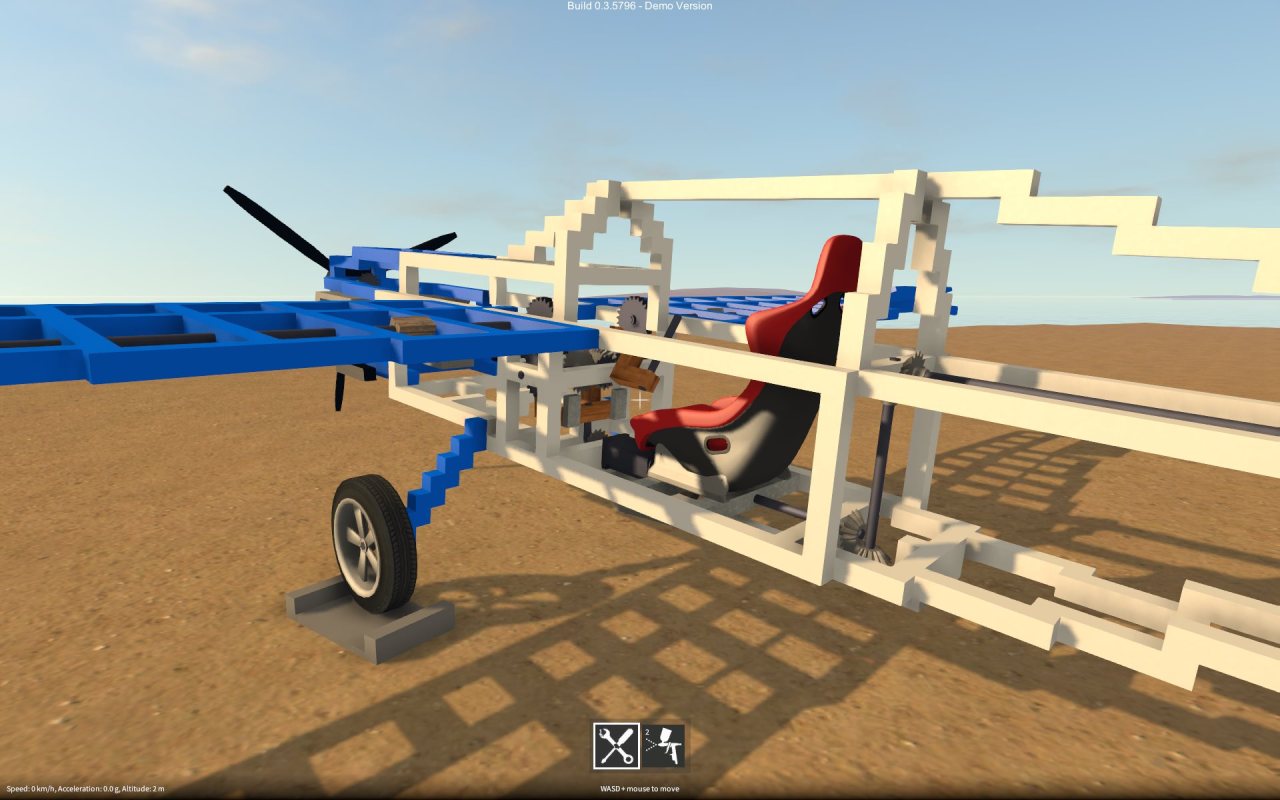
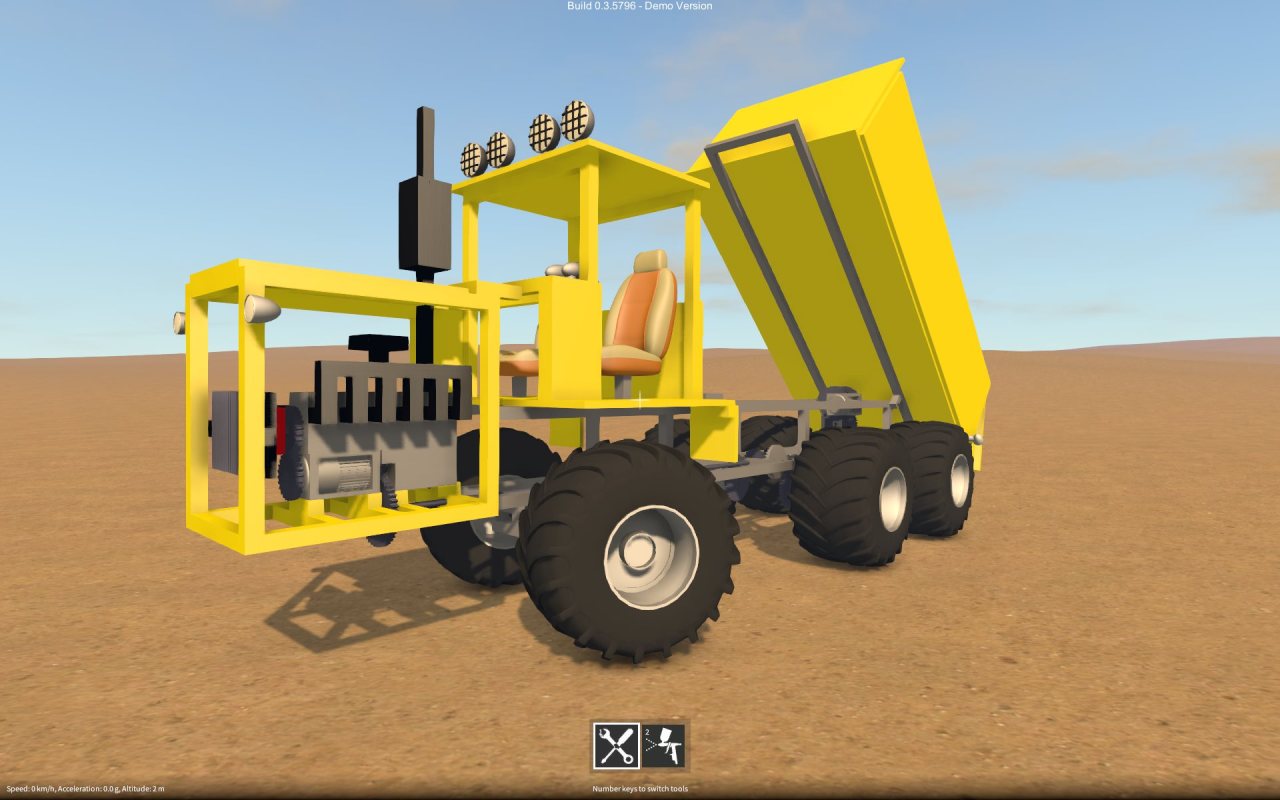
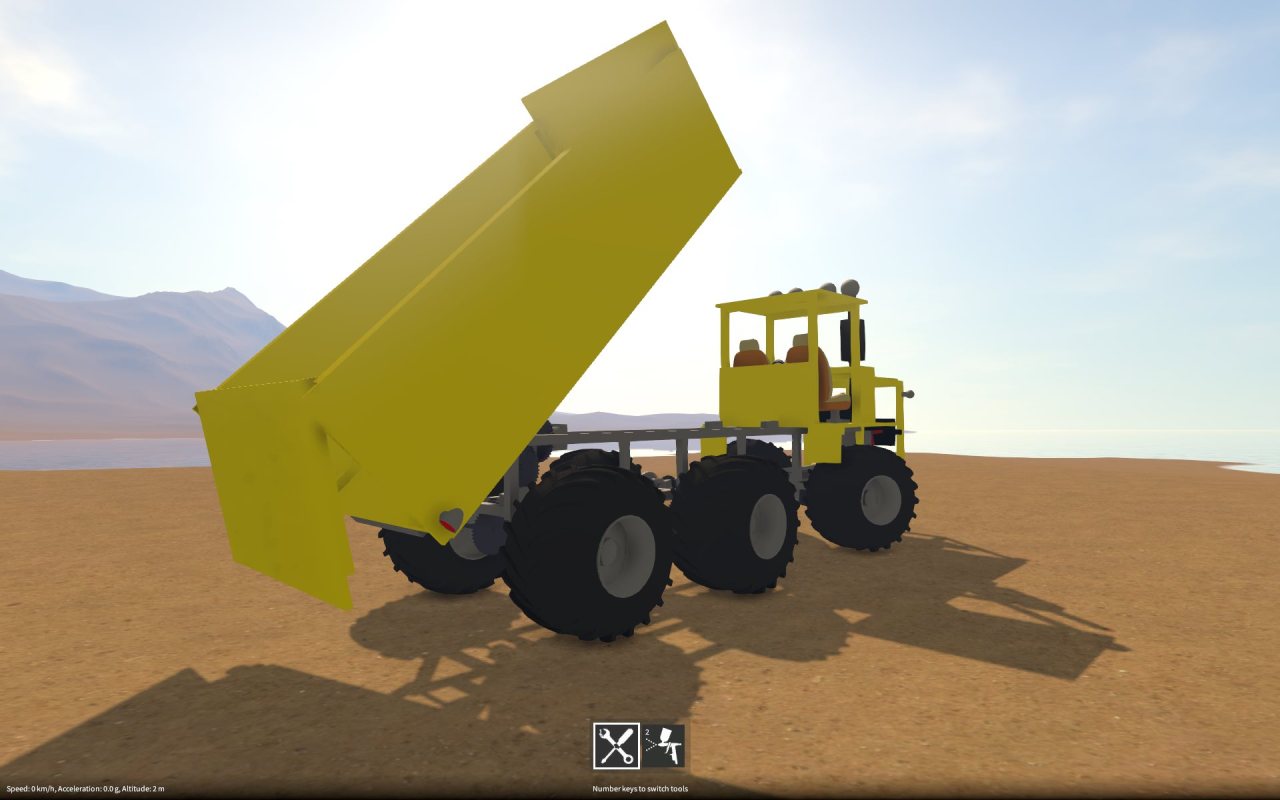
GearBlocks Demo 0.3.5796
Another demo build is out, here’s what’s in it!
Part behaviour controls
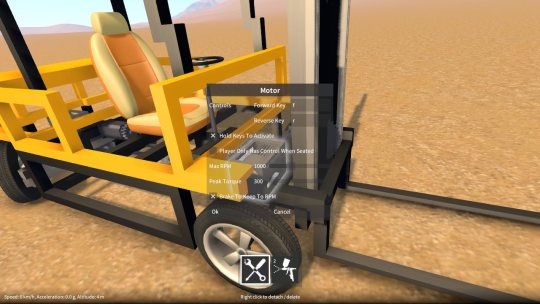
Rather than only being able to control motors, servos etc. with the directional keys (i.e. WASD), you can now assign your own keys in the part behaviour dialog (highlight the part, hold shift & press E). This opens up all sorts of possibilities as you can now control multiple motors at once using separate sets of keys. There is also the option to have the motor only accept control input when the player is sitting in a seat that is part of the same construction as the motor. This is handy, say, for when switching between vehicles that are set up to use the same key assignments.
Motor and servo improvements
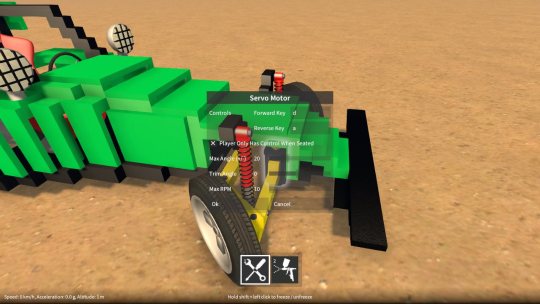
The motor now has a “brake” option that stops the motor from spinning when it is switched on but not activated. This ability to “hold in place” the drive train attached to the motor is useful for lifts, cranes, and many other things. The fork lift truck I recently posted a video on makes use of this feature to hold the forks in place when you’re not moving them up or down.
Rather than snapping immediately to its required angle, the servo motor now transitions smoothly at a fixed speed. I’ve added an RPM setting that allows this speed to be adjusted to suit the purpose you’re using the servo for.
Save / load of constructions
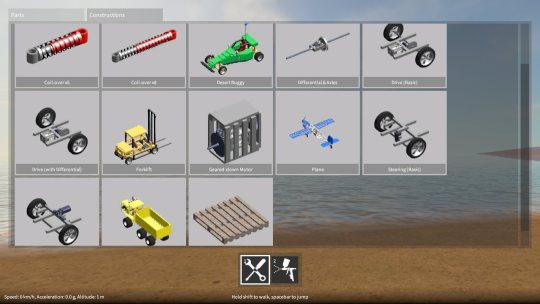
An individual construction can now be saved out by highlighting it, bringing up the construction menu (by holding shift & Q), and clicking the save button. This brings up another window that shows any currently saved constructions, lets you choose a name to save under and so on. The constructions get saved into the SavedConstructions folder under wherever you’re running the game from.
To spawn a construction you previously saved, in the builder tool mode, hold Q to bring up the builder tool GUI and click the Constructions tab. There you’ll find all your saved constructions, just click on one to spawn it. Also, I’ve included some built-in example constructions for you to experiment with!
A forklift truck I recently built in GearBlocks, making use of slider rails and rack & pinion gears to move the forks up and down.
(Source: https://www.youtube.com/)
GearBlocks Demo 0.3.5771
It’s been a long while since the last update, I was away for a bit, then got sick which took me out of action for a while. But anyway, finally I’ve gotten a new build out the door – here’s what’s new…
Painter tool
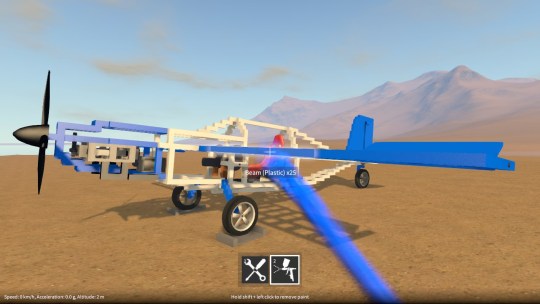
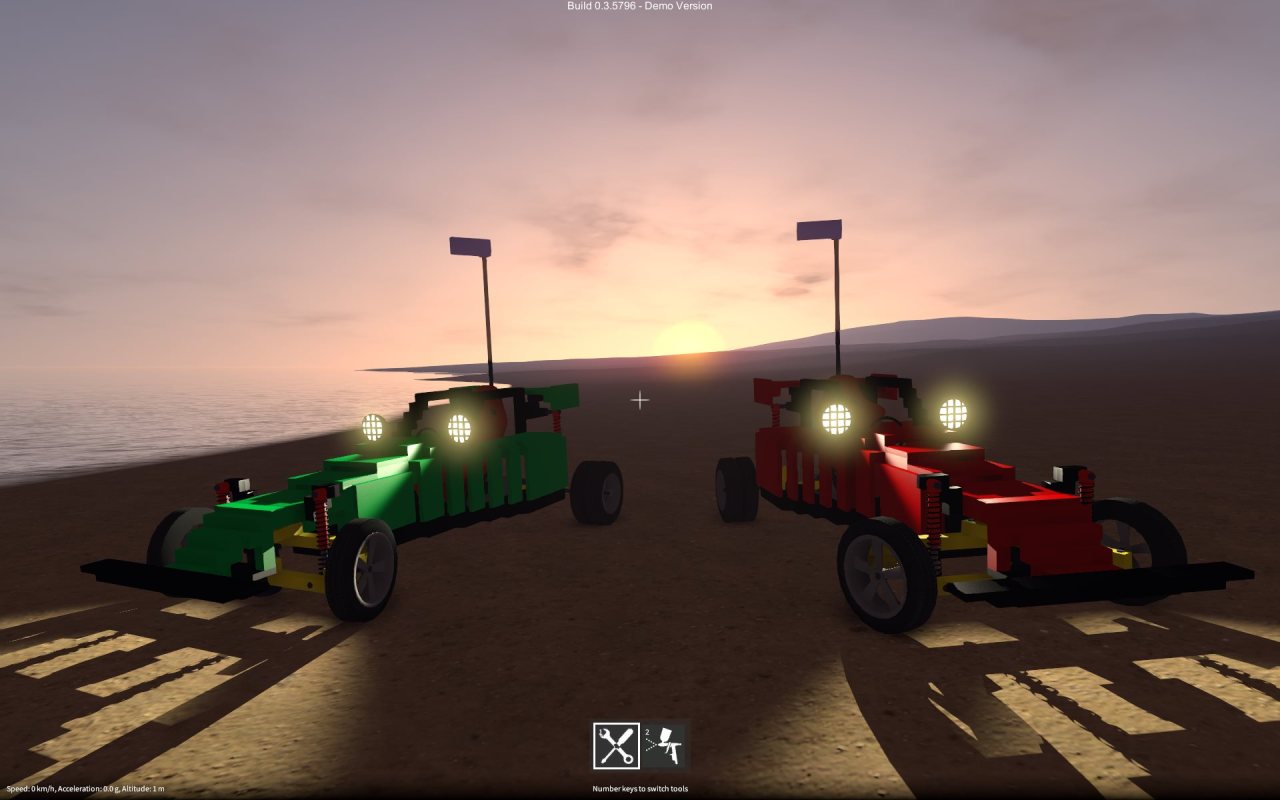
There is now a new tool in the game that allows you to apply colour to the currently highlighted part (if it is paintable). Paintable parts can be identified in the part spawner menu as the ones with the colour icon in the top left corner of their preview images.
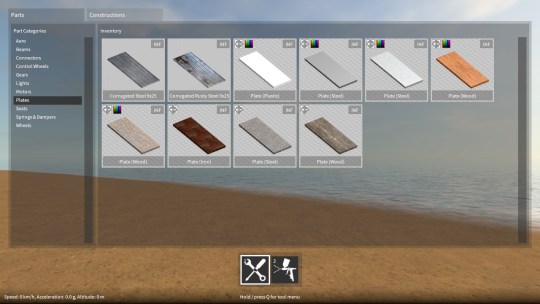
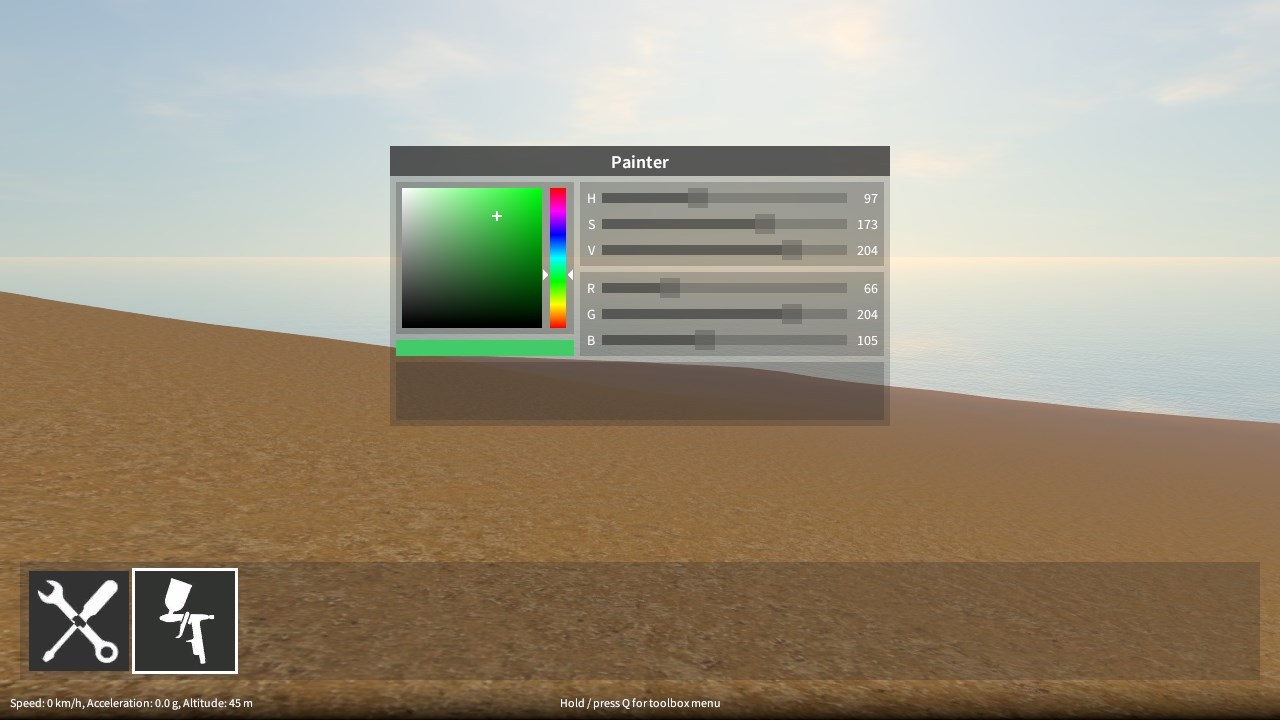
The numeric keys select which tool is currently active, 1 for the builder tool (i.e. the pre-existing construction controls) and 2 for the new painter tool. The currently active tool is indicated in a new toolbar at the bottom of the screen (you can also select a tool by clicking on the icons in this toolbar). When the builder tool is active, using Q will bring up the part spawner menu as before, but when the painter tool is active, Q brings up a different menu, one that lets you choose a colour to paint with. Note that in the demo, some of the paint colour controls in this menu are disabled, but you can still choose from a fixed palette of colours.
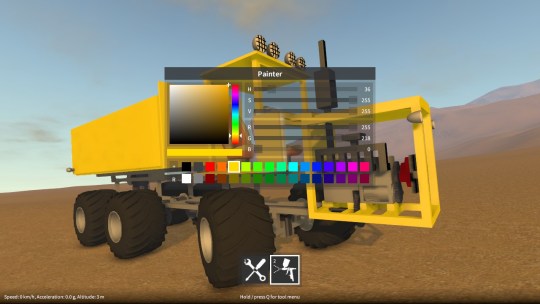
When the painter tool is active, the following controls are available:-
- Left click to apply paint to the currently highlighted part (if it is paintable).
- Hold shift + left click to remove paint from the currently highlighted part (if it is currently painted).
- Right click to sample paint from the currently highlighted part (if it is currently painted) and make it the current colour for painting.
Other improvements
Also in the latest build, Q can now be optionally made to toggle the tool UI, instead of having to hold Q. To activate this, there is a check box option in the input settings.
The electric motor peak RPM and torque are now configurable from the part behaviour configuration dialog, which allows the motor to be fine tuned to better suit the construction that you’re building.
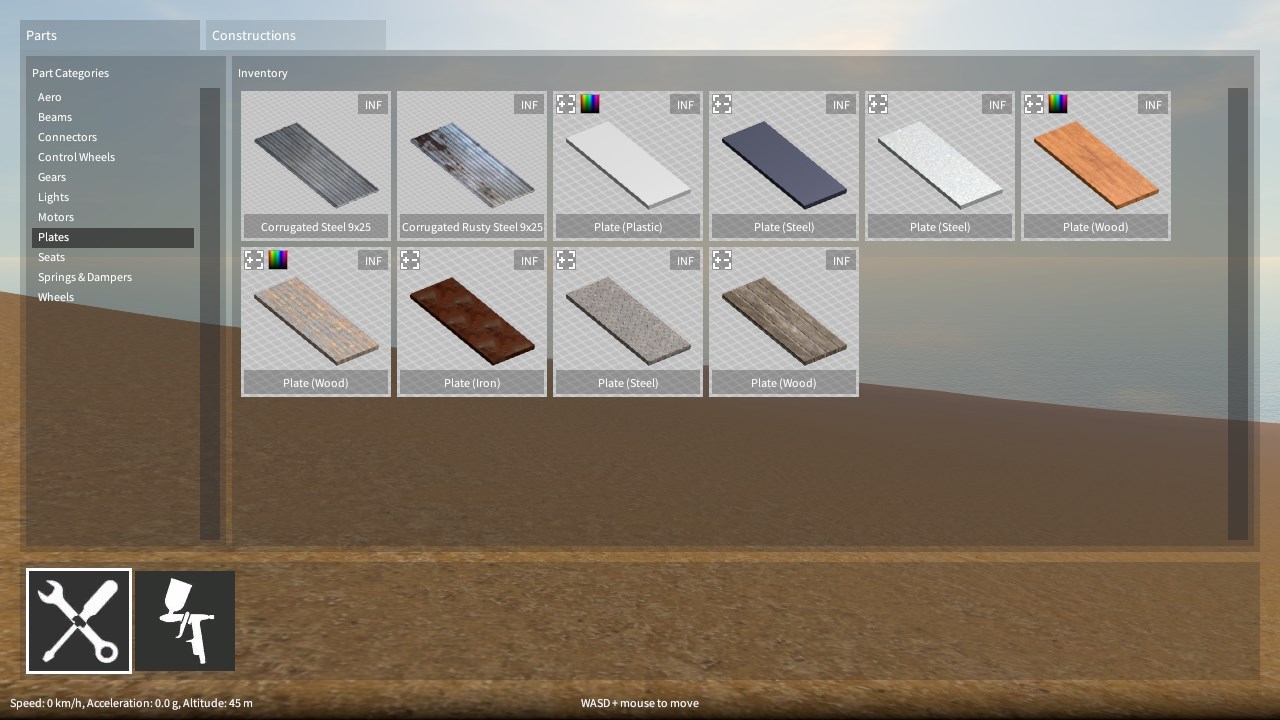
The latest GearBlocks dev diary showing the new re-sizable parts.
(Source: https://www.youtube.com/)
GearBlocks Demo 0.2.5712
Re-sizable parts
As I mentioned before, I wanted to try having re-sizable parts as a way to make selecting which part to spawn more manageable for the player while at the same time having a greater choice of part sizes and material variations available. Over the past month I have been working on prototyping and building this feature, and it’s now in the latest build and working pretty well I think. Beams, plates, axles and slider rails are all now re-sizable to a range of different sizes, eliminating the need for a separate entry for each different size in the spawner menu.
To achieve this, I implemented code to procedurally generate the render meshes for these parts rather than use pre-made meshes. Also, I had to modify the construction controls slightly to allow the player to easily re-size parts. Figuring out how to nicely integrate the controls for re-sizing with the existing control scheme actually took most of my time. I explored a few different ideas, but I’m fairly happy with what I ended up with.
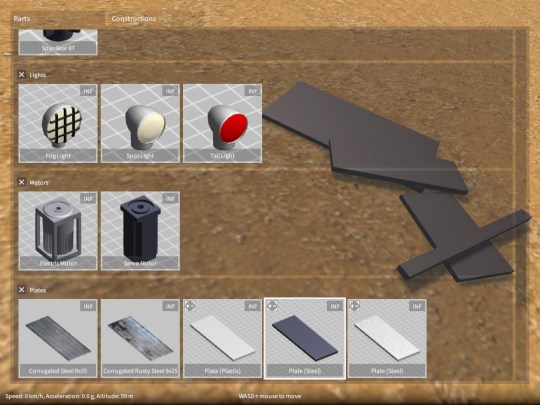
Re-sizable parts can be identified in the part spawner menu as the ones with the +/- icon in the top left corner of their preview images. Parts can only be re-sized if they’re not currently attached to any other parts. If something is already part of a construction you have to detach it first, re-size it, then re-attach. Any existing saved games will be automatically converted on load to use equivalent re-sizable parts in place of the old fixed size ones. Let me know if you have any problems with an old saved game not loading properly, but hopefully I have covered all of the cases!
Construction controls changes
Note that the following only applies when a construction is currently selected by the player:-
- Hold shift + move mouse (used to be shift + WASD) – Translate the selected construction relative to the cursor.
- Hold shift + directional keys (WASD) – Re-size the selected part, as long as it’s not attached to any other parts.
- Hold Q + left click (used to be shift + left click) – Attach the selected construction (if it’s currently being aligned to some other frozen construction), after first cloning it.
Soon, I’ll make a video to go over the new controls and part re-sizing in more depth, so watch this space!
Next steps
An often requested feature is to have flexible key bindings for controlling part behaviours (e.g. motors, servos etc.), rather than only being able to use the directional keys. For a few different reasons that I won’t get into now, this is not as easy to do as you might think. To facilitate this, I need to overhaul the input system somewhat, so this will be coming up on my horizon soon.
I also want to introduce a painting tool to allow the player to easily change the colour of beams and plates. I think this will be big improvement to the creative flexibility afforded in the game, but I’m not quite sure how it’s going to work yet. Something I’ll hopefully be looking at soon.
Finally, to support some more complex parts I want to add down the road, I need to totally rework the current system I have that decides which types of parts can be attached with other parts, in order to make it a lot more flexible.
So…lots to do!