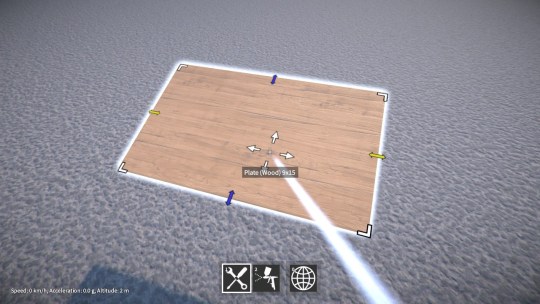
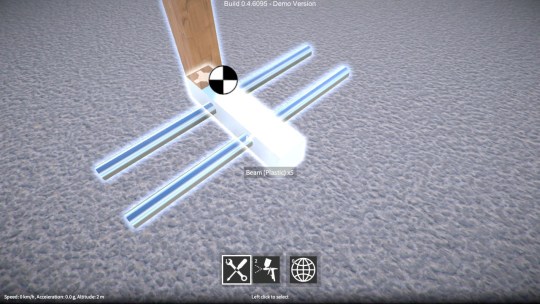
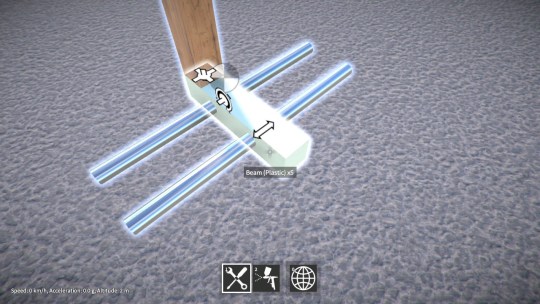
Over the last few weeks I’ve been working on fixing something with the construction controls that’s been bugging me for ages. I wasn’t happy with the range of positions at which you could select a part, you could select it anywhere within its bounds, which wasn’t really restrictive enough.
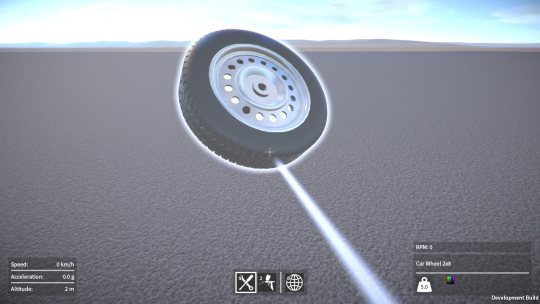
Here’s an example. You could select anywhere on a wheel, even though it only has one point that can attach to anything.
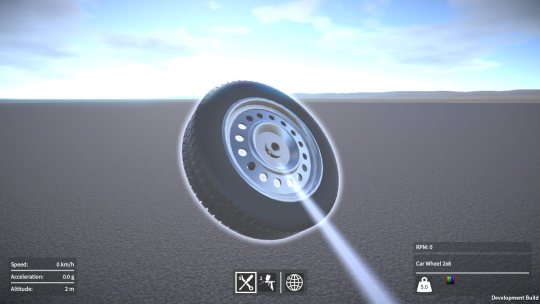
Much better to restrict the selection point to always be at this attachment point as shown below, that way it feels more natural when attaching the wheel to another part.
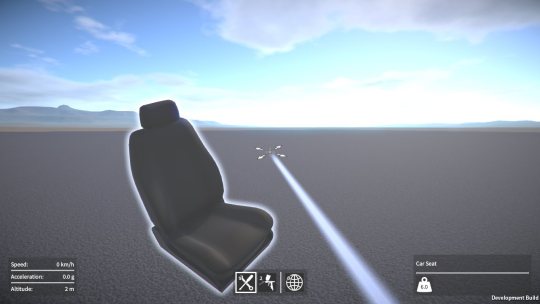
This next example is even worse. You could select anywhere on a seat, and then translate it so that the selection point was completely outside the seat which is just plain stupid.
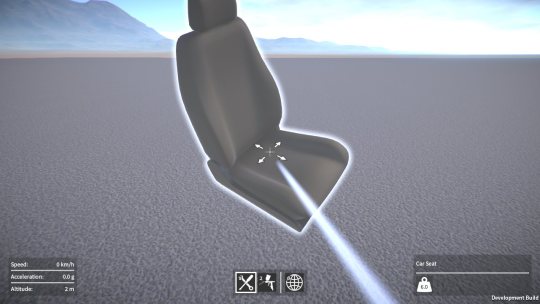
So now I restrict the selection point to be somewhere in the region on the bottom of the seat where its attachment points are, so you always have it selected in a suitable place ready to attach to another part.
To accomplish this I had to rework some code so that it now automatically calculates the selection region based on where all the part’s attachment points are located. The upside to this was that I could do away with explicitly specifying the allowed translation directions on each part. The less I have to manually setup per part the better!
I also had to implement some new math functions to find the closest point on the part’s selection region to the player’s eye “ray”. Took a while to do, but it’s never a bad thing to add more stuff to my math toolkit I suppose, could come in handy for other things in the future.
All this took way longer than I expected, it was only supposed to be a couple of day’s work, sigh.
Prop parts
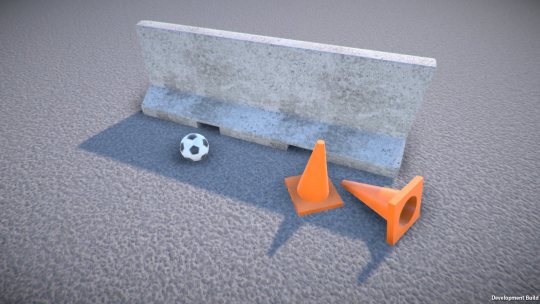
I’ve also added some new “prop” parts. Props are a new category of part that are the simplest objects in the game, they don’t have a behaviour and they don’t attach to any other part. The idea is that they can be used with the machines and vehicles you build or placed in the world to set up a scene to play in. For example, traffic barriers could be laid out to form a race track, the ball could be used in a Rube Goldberg machine.
As with all the other parts, I’ll be adding more props as I go, any suggestions for these are welcome!
Posted on
…and here’s a video of the tractor. It could do with some proper wheels and the steering would work better with the ball & socket connectors, but I was limiting myself to parts available in the demo.
Gah, I can’t believe it’s been a month already since the last blog post! It’s been a frustrating time to be honest. I’ve been planning on setting up a company for a while, to put GearBlocks on a more official footing (it’s something I should have done a long time ago really). The trouble is I’m having a hell of a time trying to think of a name for the company (all the ideas I’ve come up with seem to be already taken)! It seems ridiculous that a relatively trivial thing like this is holding me up, but hopefully I can figure it out soon and move on.
In the meantime I have made some progress with the game though. The Unity 5.6 upgrade is now done, the rendering issues I was having weren’t too bad to sort out in the end. Also, I was tired of having old placeholder part assets still left in the game, so I’ve finally removed / replaced / reworked the last of these.
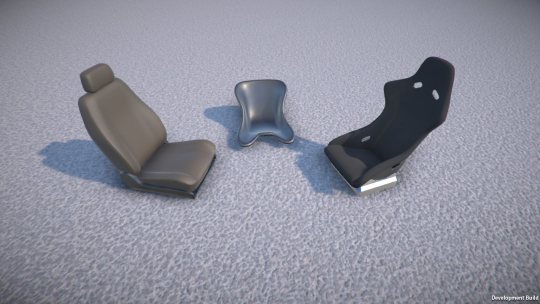
These are the new seat models I’ve made so far, I plan on adding more types & variations of seat later (any suggestions welcome!)
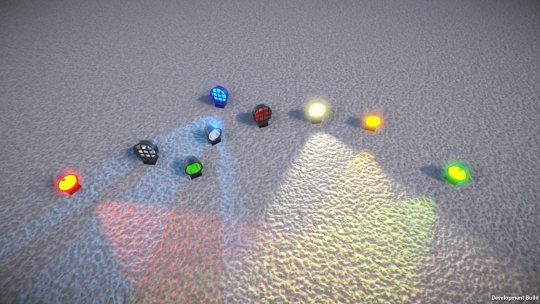
Here are the new lights (again, at some point I plan on adding more styles / types of light). Their lenses are now paintable, so you can have any colour lights you like!
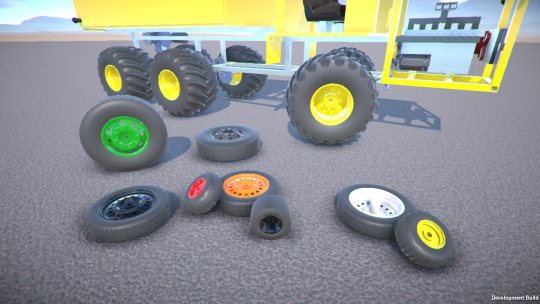
It was a small change to make the wheel rims paintable too, so I decided to do that while I was at it.
Well, the next demo release is pretty much ready to go now, it’s just waiting on me getting the company set up, as I want to have that all sorted first!
Here’s just a brief update on what I’ve been up to over the past few weeks. Most of the work has been focused on further improving the usability of the game (better UI, controls, customisation, etc.)
Construction controls improvements
I’ve redone the part resizing input code so that now when you press a resize key it responds immediately (before it was kinda sluggish to respond).
I’ve also made a tweak so that you can now freeze the selected construction in place while aligning to another construction, this can be useful to check positioning and so on before committing to attachment.
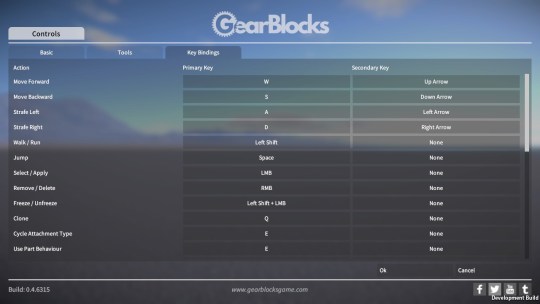
Configurable key and mouse button bindings
The main thing I’ve been working on recently is a complete overhaul of the input system. You can now fully customise key (and mouse button) bindings to the various actions in the game. There’s now a new tab in the controls settings where you can set this up. You click the button for the action you want to configure, it’ll then wait for a key press, that key then getting bound to the action.
I’ve also modified the player controllable parts (e.g. motors) that have configurable key binding to work in the same way. This means you can now bind any keys to them, not just letters and numbers.
The only thing still left to do here is to allow configuration of joystick / controller inputs, something I’ll revisit at a later date.
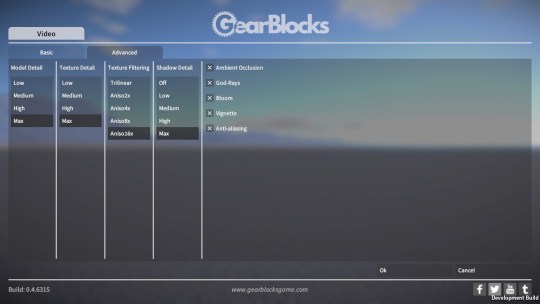
Improved graphics settings
The other customisation improvement I’ve made is to the graphics settings. I’ve done away with the (vague and too high level) “quality settings”, and set up proper options that’ll give you more fine grained control when configuring the graphics quality vs. performance of the game.
Other things
Some other bits and pieces I’ve also done:-
More UI design tweaks and improvements.
Better audio mix, updating sounds, etc.
Various bug fixes.
I’m working hard on getting another demo release out so that you can try all this new stuff out. Unfortunately there always seems to be something that gets in the way! Currently I’m in the middle of upgrading to Unity 5.6 which has broken some rendering stuff, so that’s what I’m working on right now, hopefully I’ll get this sorted soon.
Posted on
Another ingenious GearBlocks build from Marra92!
Posted on
Another awesome user creation in GearBlocks, a flight simulator!
Over the last couple of weeks I’ve done some more work on the in game UI.
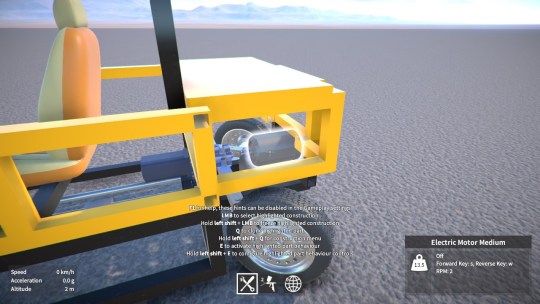
I’ve removed the old text overlay that showed the name of the highlighted part, as it was positioned near the cursor and kind of in the way. Now I have a new overlay in the bottom right corner that shows not only the part name, but other details such as its mass, whether it’s paintable or resizable, and info on its behaviour status.
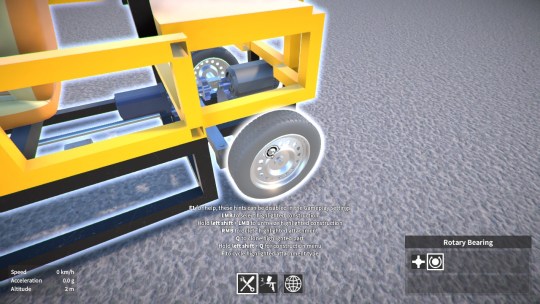
I’ve also added a similar overlay for when you’re hovering over an attachment in a frozen construction. It displays the available attachment types that you can cycle between (highlighting the current attachment type), and it’ll also show info on other things like attachment integrity (if damage is enabled).
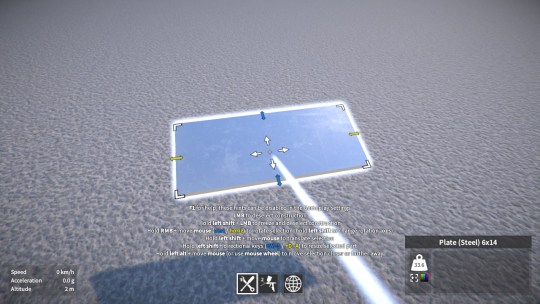
During part resizing, rather than add yet another UI display to show which keys to use
to resize in each direction
(as I was originally thinking), I decided instead to just colour code the relevant parts of the hints text.
Finally, to help the new UI elements fit, and clean up the look of the UI generally, I’ve also made the whole thing scale based on the screen dimensions. This means that (in full-screen mode), the UI elements appear the same size regardless of the screen resolution. I think this is a big improvement, especially at lower screen resolutions.
update. As I’ve mentioned in previous posts, I wanted to improve the construction controls, to try and make them a bit more approachable and accessible, and this is what I’ve mostly been working on over the past couple of months.
Failed ideas
I wanted to explore some new ideas in an attempt to improve part positioning and alignment, and also part resizing.
So I tried making a prototype of a “snap to” grid aligned to the overall frozen construction (instead of to the currently highlighted part as it is now). While the player is positioning the selected construction ready for attachment, I had a 2D planar grid aligned to the frozen construction that the selection snapped to at unit intervals. The player could then move this plane up and down along its normal (also at unit intervals) using the mouse wheel, thereby allowing snapped positioning in full 3D space. There would also need to be some provision for snapping to half unit intervals, although I didn’t get that far with it. This seemed promising initially, but what killed the idea for me in the end was the realisation that (unlike the current system) it doesn’t easily allow for attachment at arbitrary angles, everything has to be aligned at 90 degree intervals relative to the frozen construction. At least I couldn’t think of a practical way around this, and I certainly didn’t want to make it less flexibile than what I already have.
As for part resizing, I thought about separating it out into another tool (with handles that you drag around to resize the part), but not only is this more complicated to implement, I actually think it would be less convenient to use. Every time you want to resize a part you’d have to deselect it, switch to the resize tool, do the resizing, switch back to the builder tool, and select it again.
So in the end I decided against making any radical changes to the current construction controls, and instead focus on improving what’s already there. Let’s go over the changes I ended up making.
Construction alignment
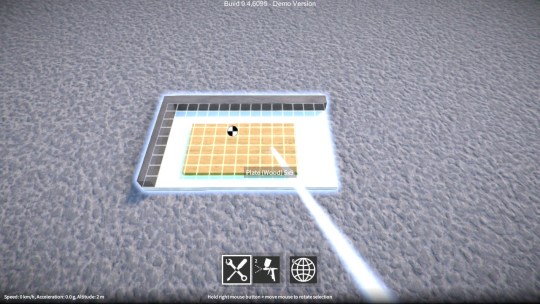
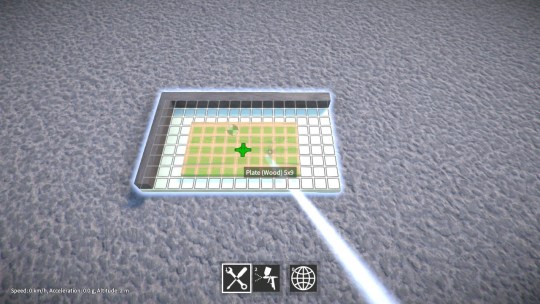
One issue with positioning parts is that the alignment grids aren’t always easily visible. Also, because they’re drawn on top of the parts themselves, it sometimes makes it hard to tell which parts are in front of each other, or even which part you’re about to attach to. So I changed the grid textures to make them clearer, and modified the shader to fade them out slightly where drawn “behind” objects. You can see the difference between the old and new grid below.
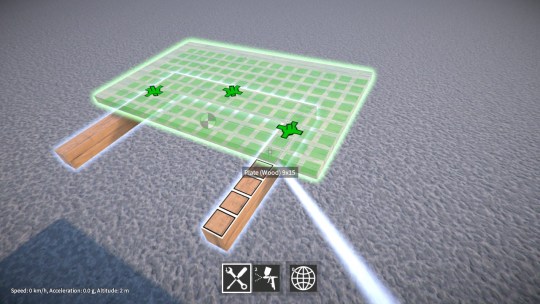
Another problem is that when you’re aligning parts together, you don’t know where the individual attachments will be created. So now during alignment, indicators are shown for the attachments that will be created, an example of this is shown below.
Lastly, rotating the selected construction can be kind of awkward at times, and I wanted to see if could improve this in any way. I tried making the rotation be limited to one axis at a time during alignment, and that turned out to help a quite lot because it prevents “drift” away from the player’s intended rotation.
Part resizing
One of the main problems with the current resizing controls is that they’re non-obvious, particularly to new players, because there’s nothing showing them what to do. As a first step towards improving this situation, I’ve now added a resize indicator that shows the available resizing directions (colour coded for the horizontal and vertical directions).
I’m also going to add a new tool UI display that (among other things) will show which keys to use to resize in each direction. Hopefully both of these changes together will make resizing a bit clearer for the player.
Attachment indicators
The attachment indicators also suffered from not being very visible a lot of the time, so I modified their textures too, and also tweaked them to ensure visibility from all angles. Here’s an example showing before and after these improvements.
Other improvements
I’ve also worked on several other bits and pieces, for example:-
More user settings (such as mouse sensitivity for selection translation and rotation).
Better in game context sensitive hints.
Lights can now (optionally) have a key bound to switch them on and off, just like motors.
The construction frozen state is now saved / restored from saved games.
A whole bunch of bug fixes (many of these you guys found and reported back to me, so thank you!)
Next up
I’m fairly happy with how things turned out after the changes I made, yes the construction controls could still be better, but they’re acceptable, and at this point I need to move on to other stuff really. There are one or two more small tweaks and bug fixes to do, but apart from that I’m done with the controls and ready to tackle the next thing.
I want to get another demo build out fairly soon, but I still have a laundry list of small tasks to sort out before I can do that, so those are what I’ll be looking at next!